How to make wine bottle candles

Wherever I am at home, there is a burning candle. I just love the cosy feeling they provide and their lovely smells. Good candles are usually quite expensive so hence why I've started experimenting making them at home. In an attempt to avoid creating any more waste, I used several containers I already had, old cups, pots, etc. However, because this year I decided to make candles to gift to our family and neighbours over Christmas, I decided to reuse wine bottles. After a few failed attempts I think I found a safe and effective way to cut them. They can be used to make candles, but also as water glasses or even flower jars.
Onde quer que eu esteja em casa há uma vela a arder. Gosto da sensação de conforto que me dão e do seu cheirinho. Boas velas são por norma bastante caras daí ter começado a experimentar fazê-las em casa. Numa tentativa de não criar mais desperdício, utilizei vários recipientes que já tinha, copos, vasos, etc. No entanto este ano decidi fazer velas para oferecer no natal aos nossos familiares e vizinhos e, como recipiente, optei por reutilizar garrafas de vinho. Depois de algumas tentativas falhadas acho que encontrei um método eficaz e seguro de as cortar. Podem servir para fazer velas, mas também como copo ou mesmo jarra para flores.

You'll need:
Old wine bottles
Sand paper (mine came with the bottle cutter)
Clothe-spines, a pencil or a spoon, essentially anything that you can rest across the recipient to hold the wicks.
Kettle with boiled water
Pot with iced water
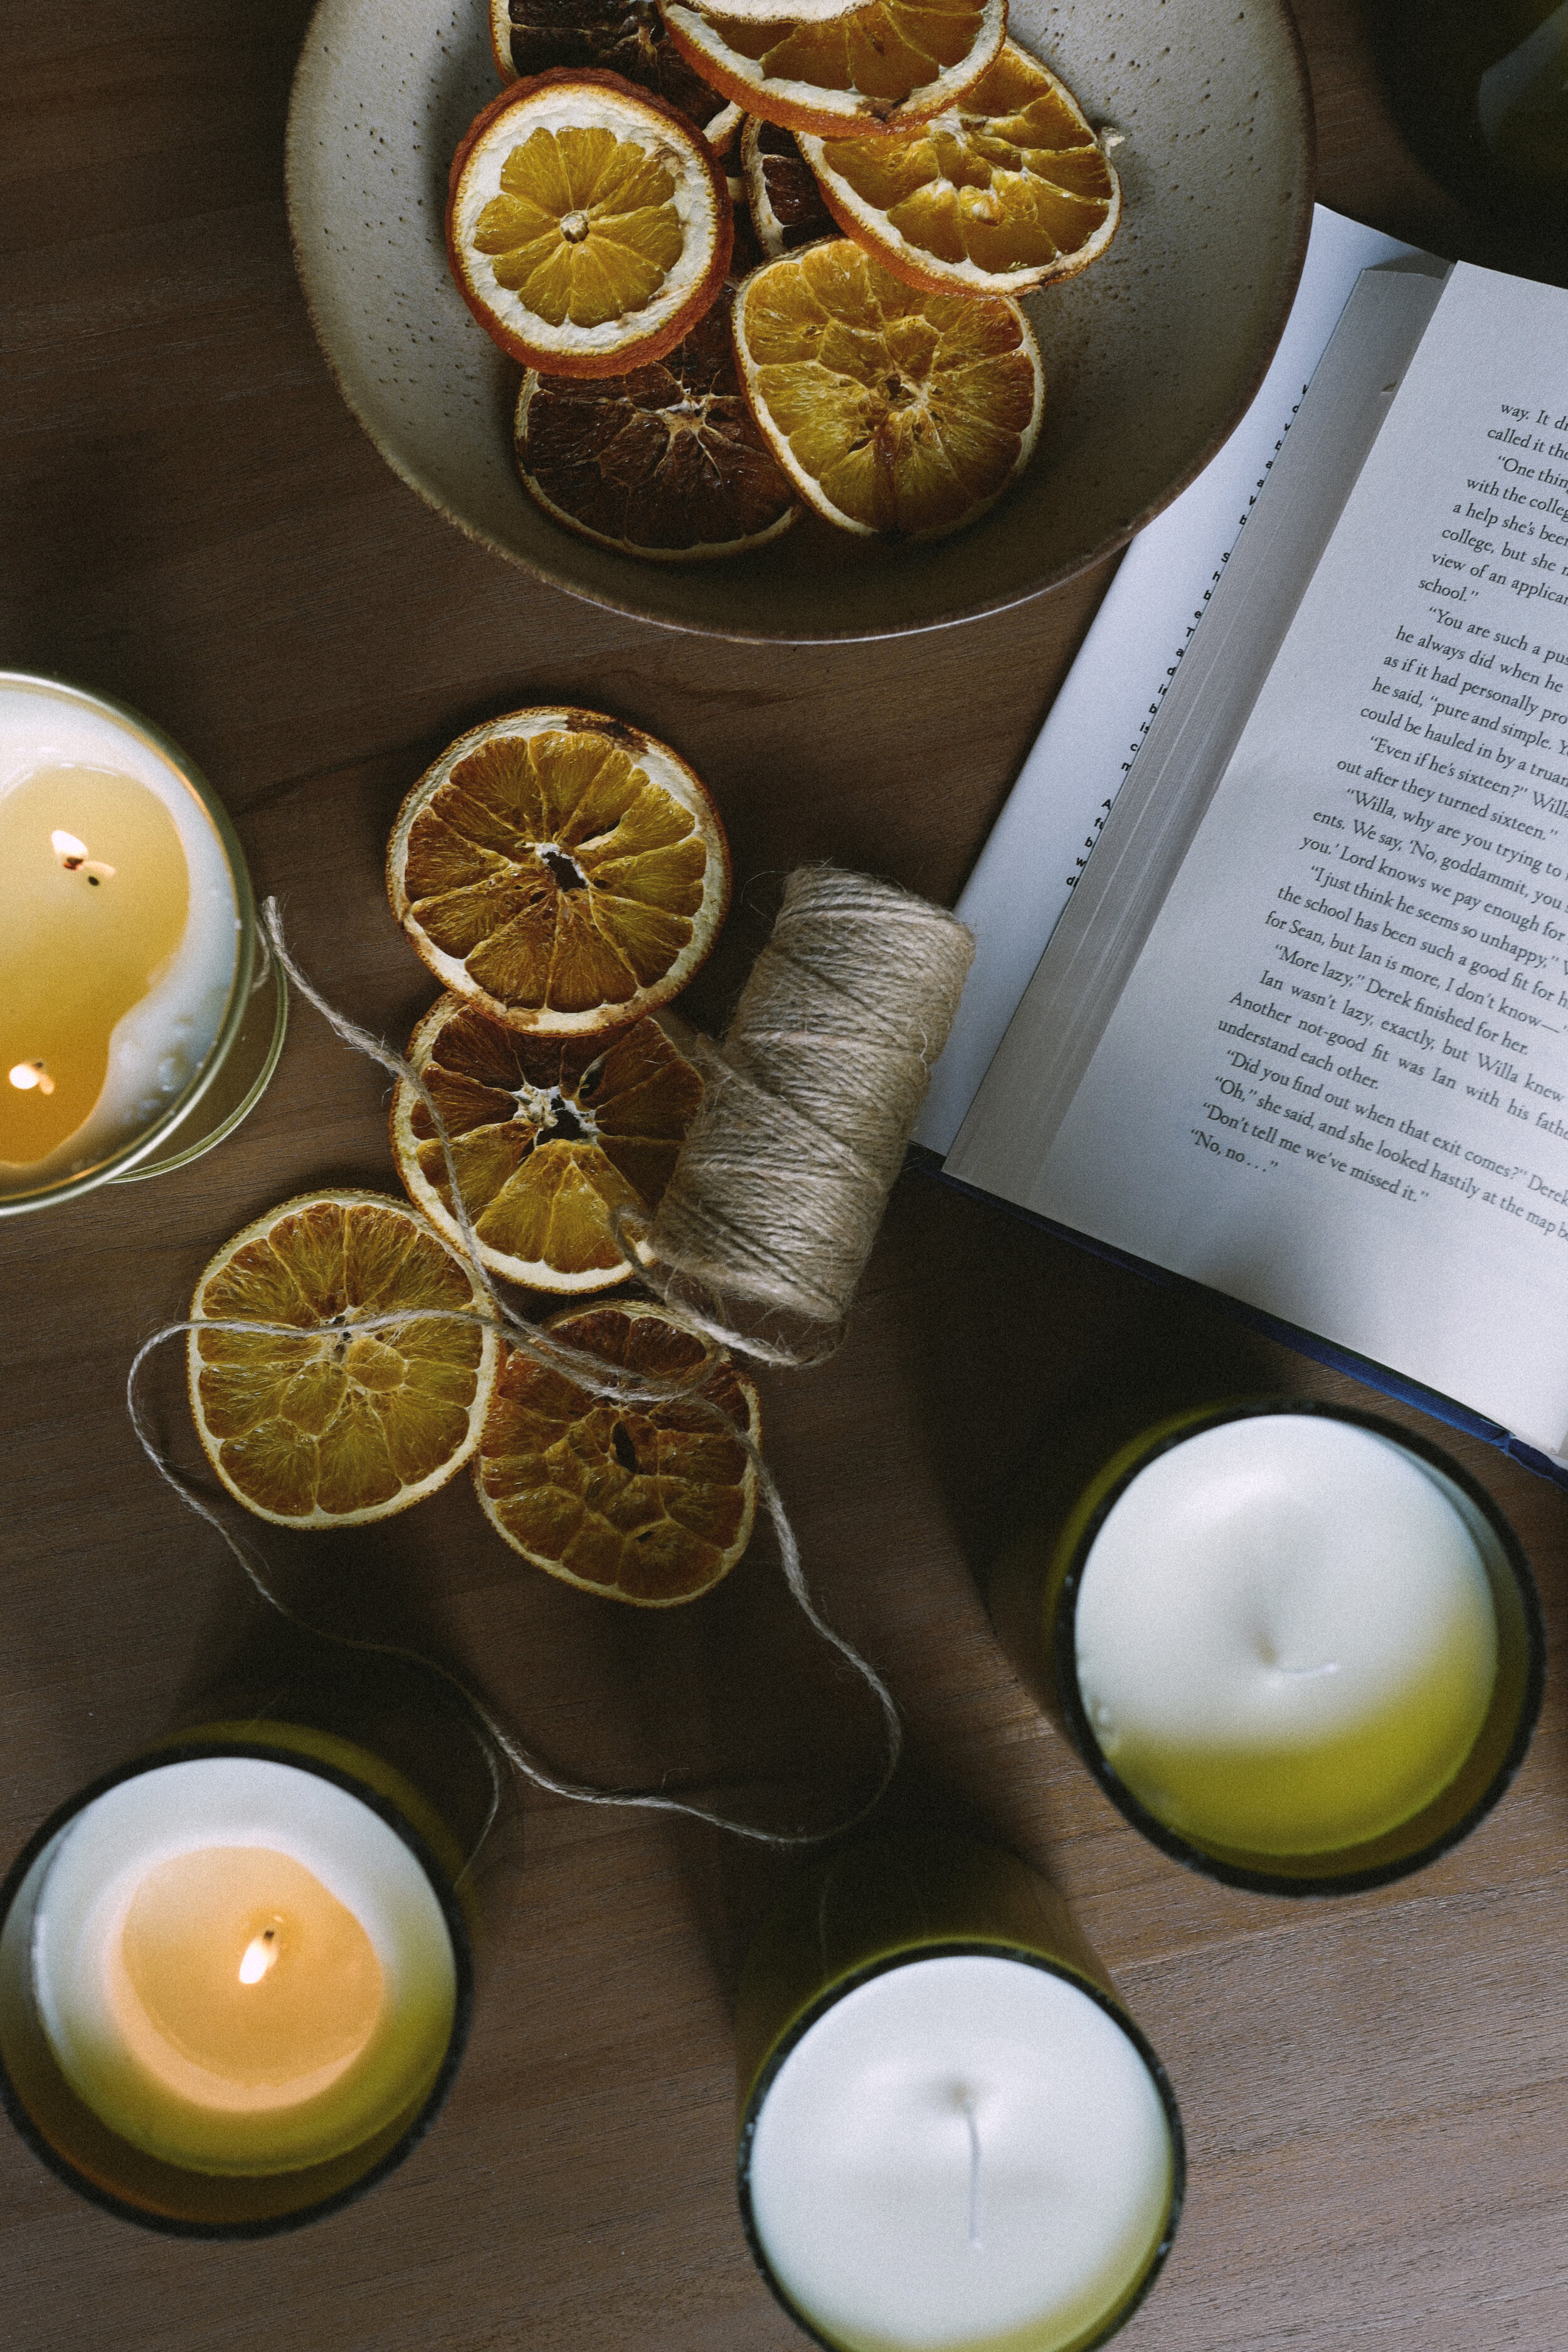
Whatever essential oils you like (I have been using bergamot, geranium, orange sweet, lavender, rosemary and lemongrass)
Precisas de:
Garrafas de vinho vazias
Lixa (a minha veio com o cortador)
Molas, lápis, colheres, ou outro qualquer utensílio que se possa utilizar para equilibrar o pavio.
Um recipiente com a água a ferver
Um recipiente com água gelada
Óleos essenciais (eu tenho usado bergamot, geranium, orange sweet, lavanda, alecrim e lemongrass)
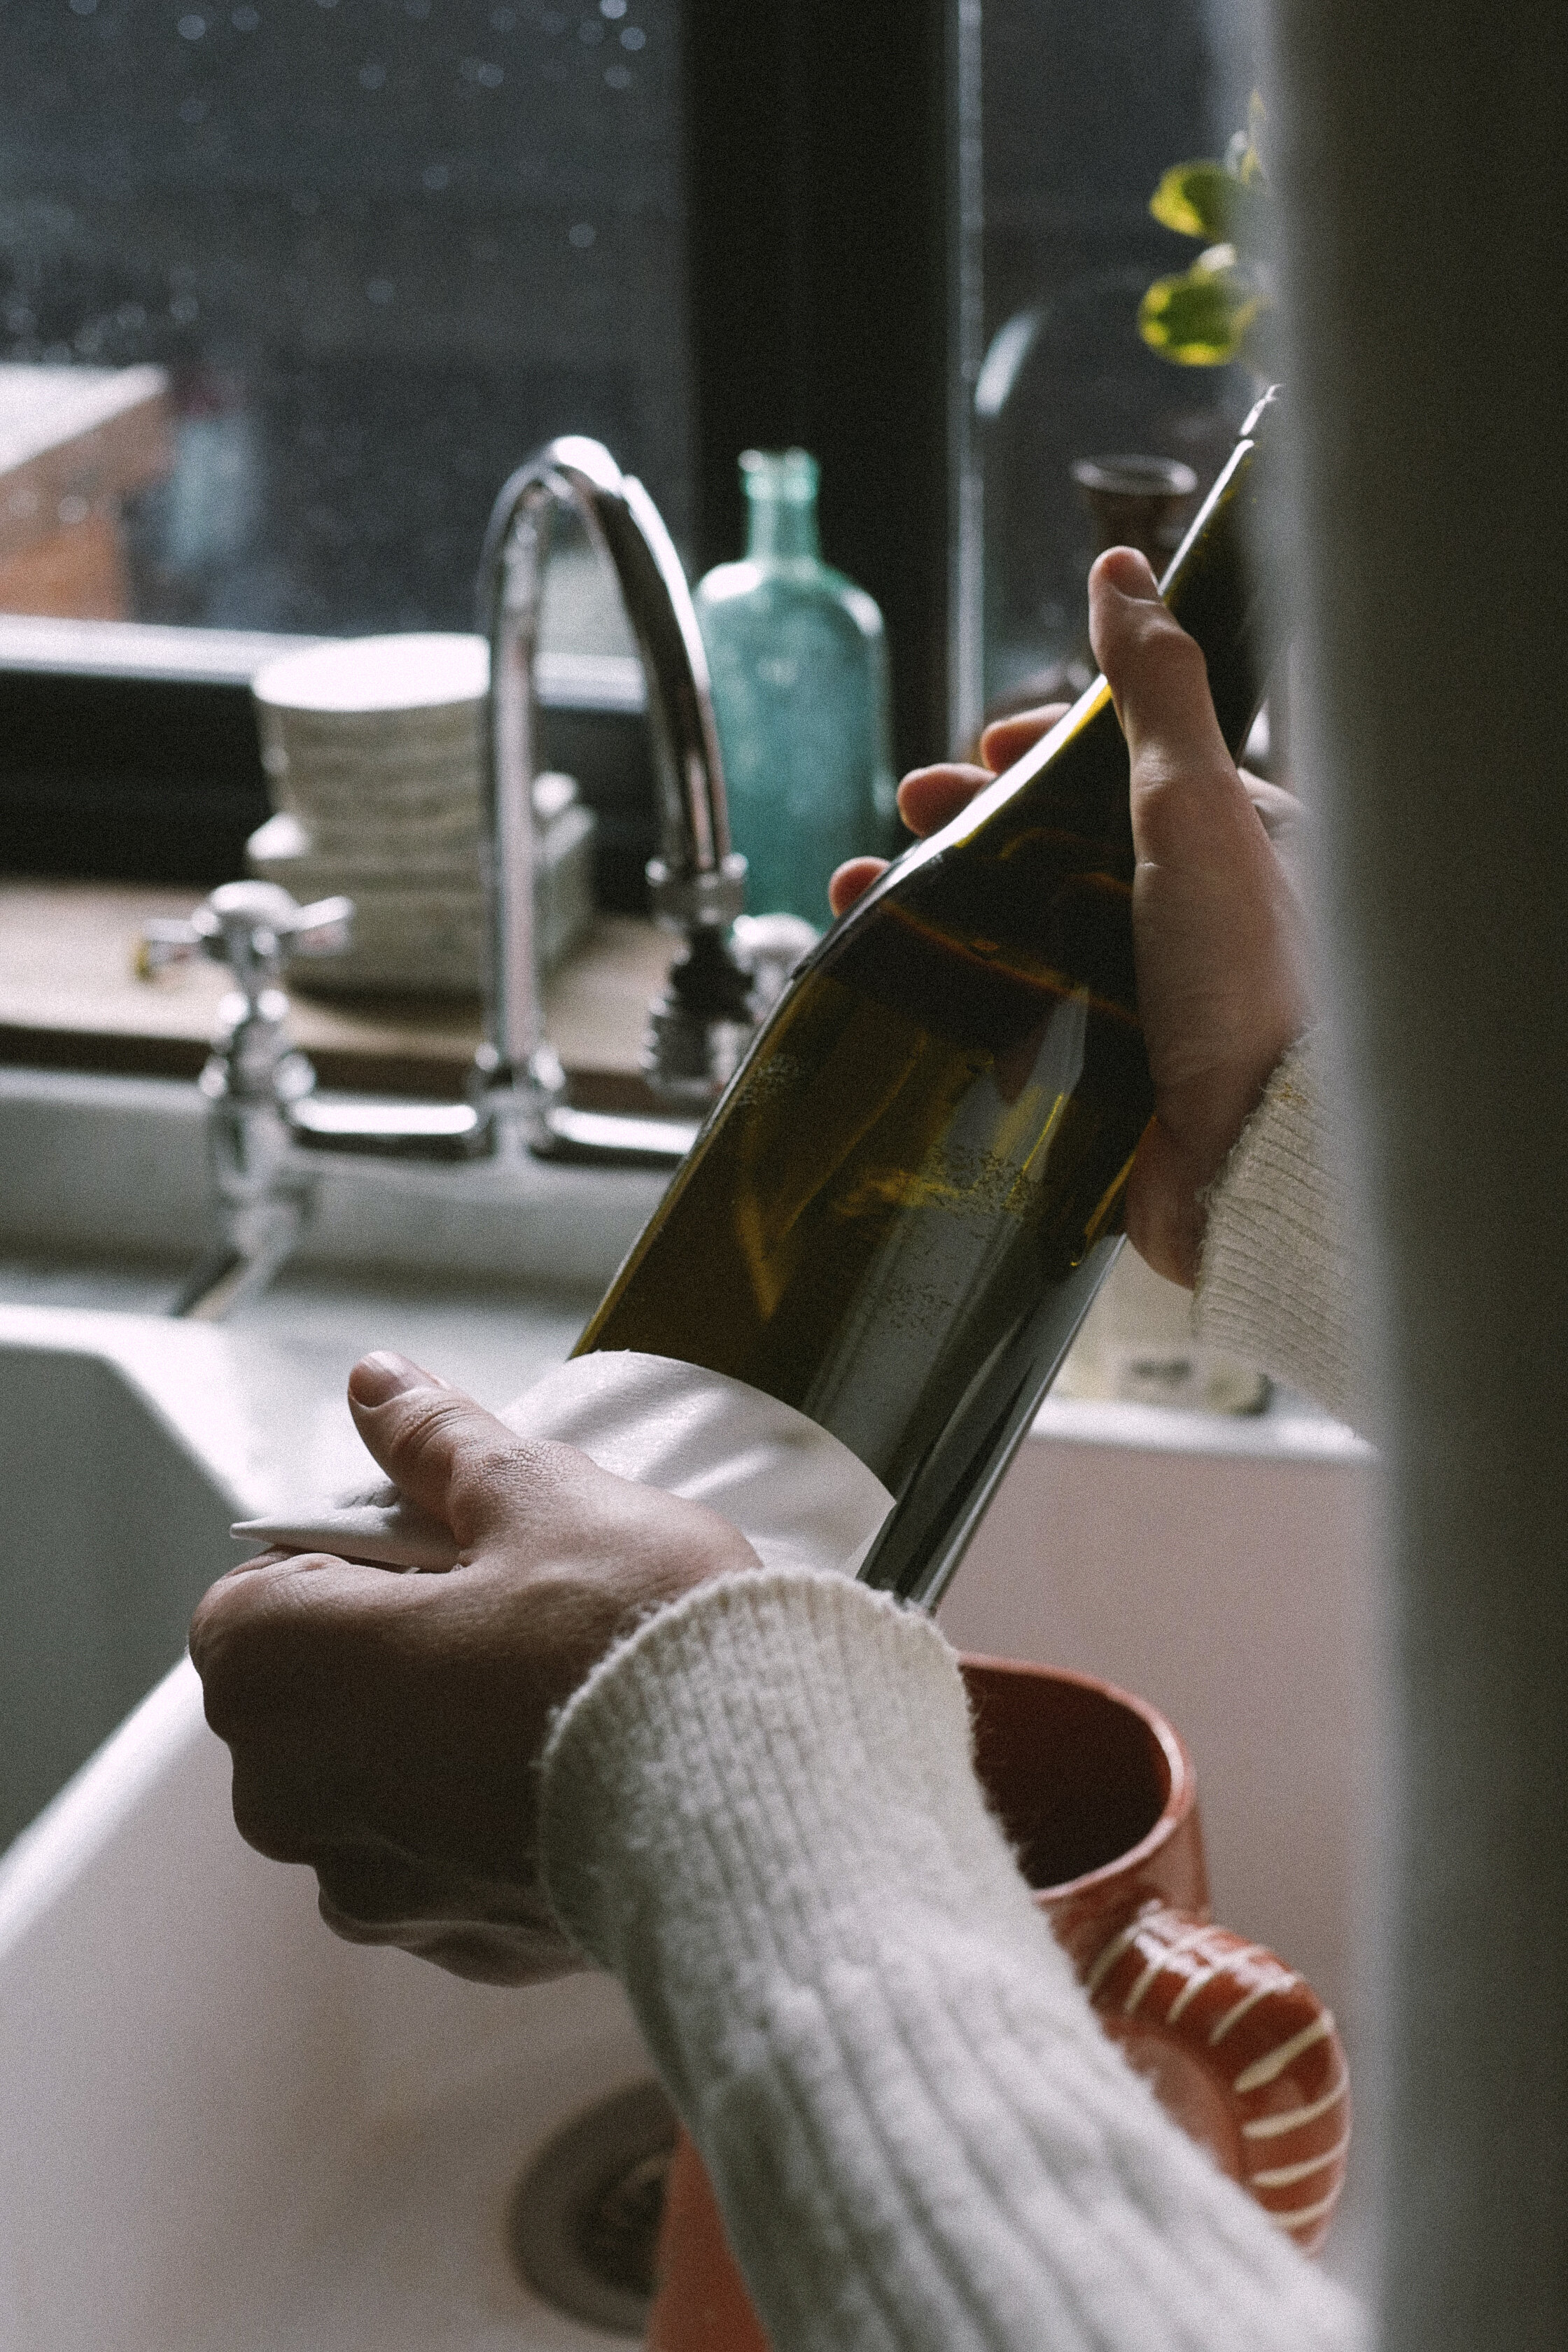
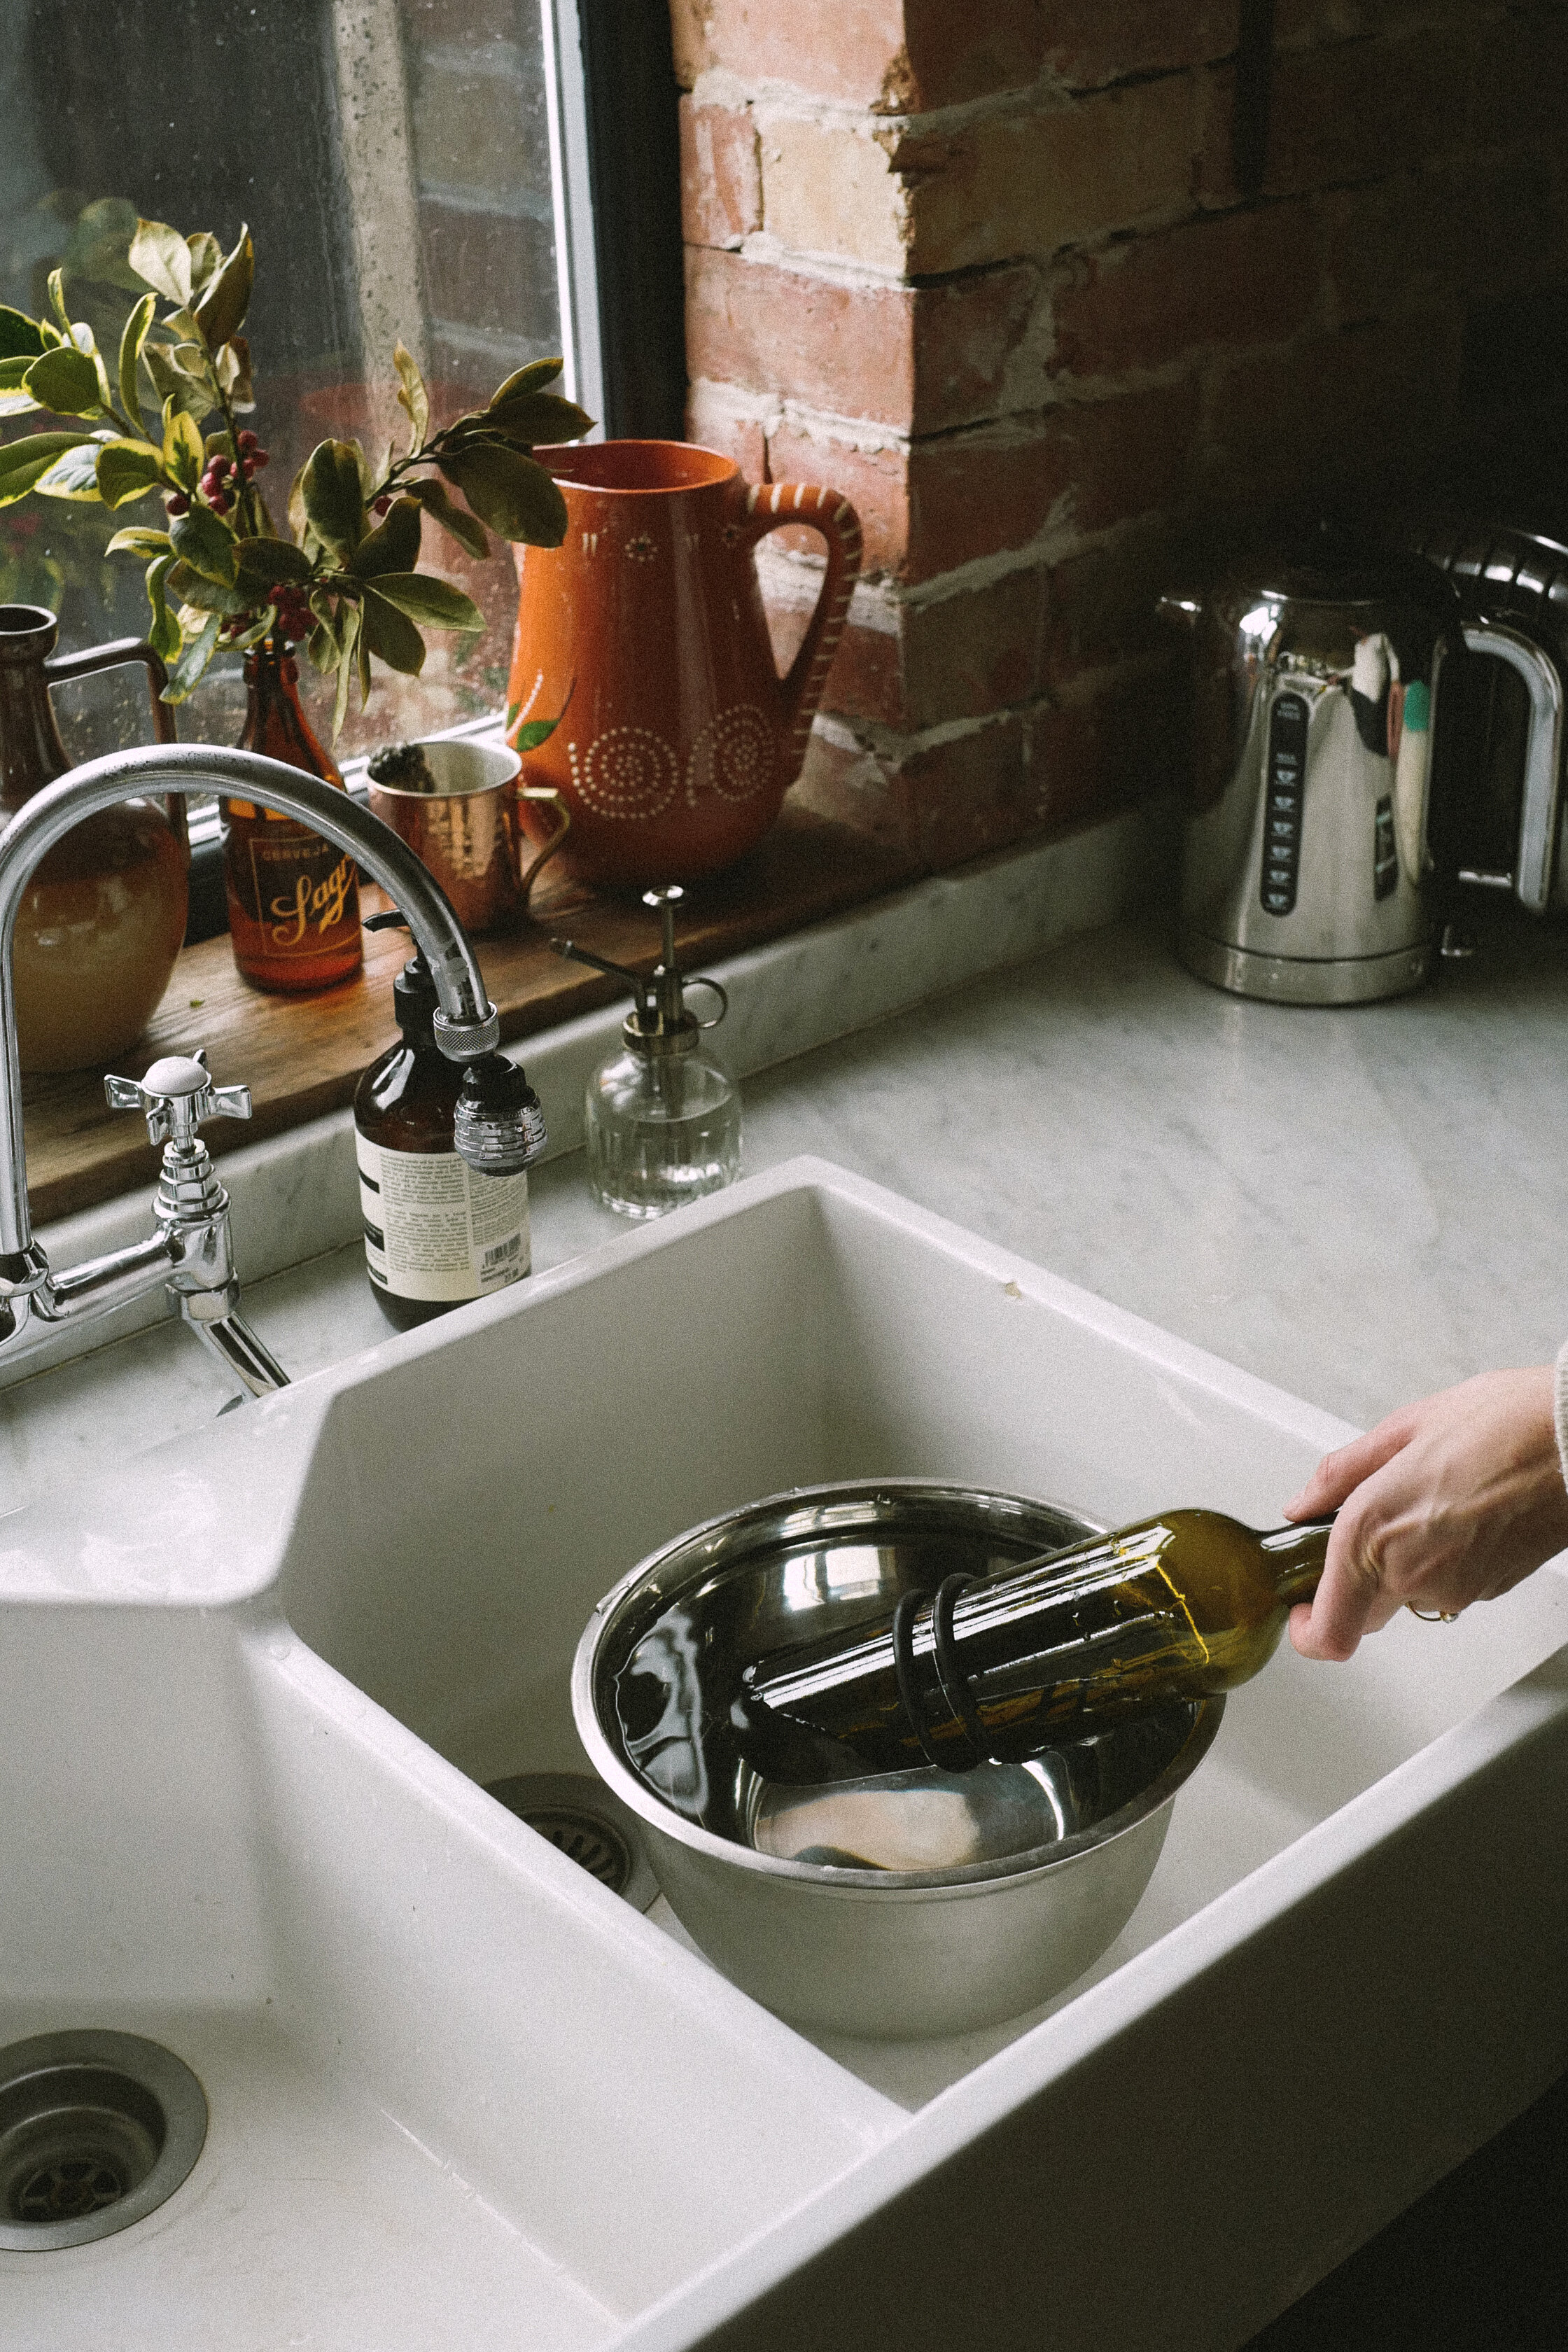
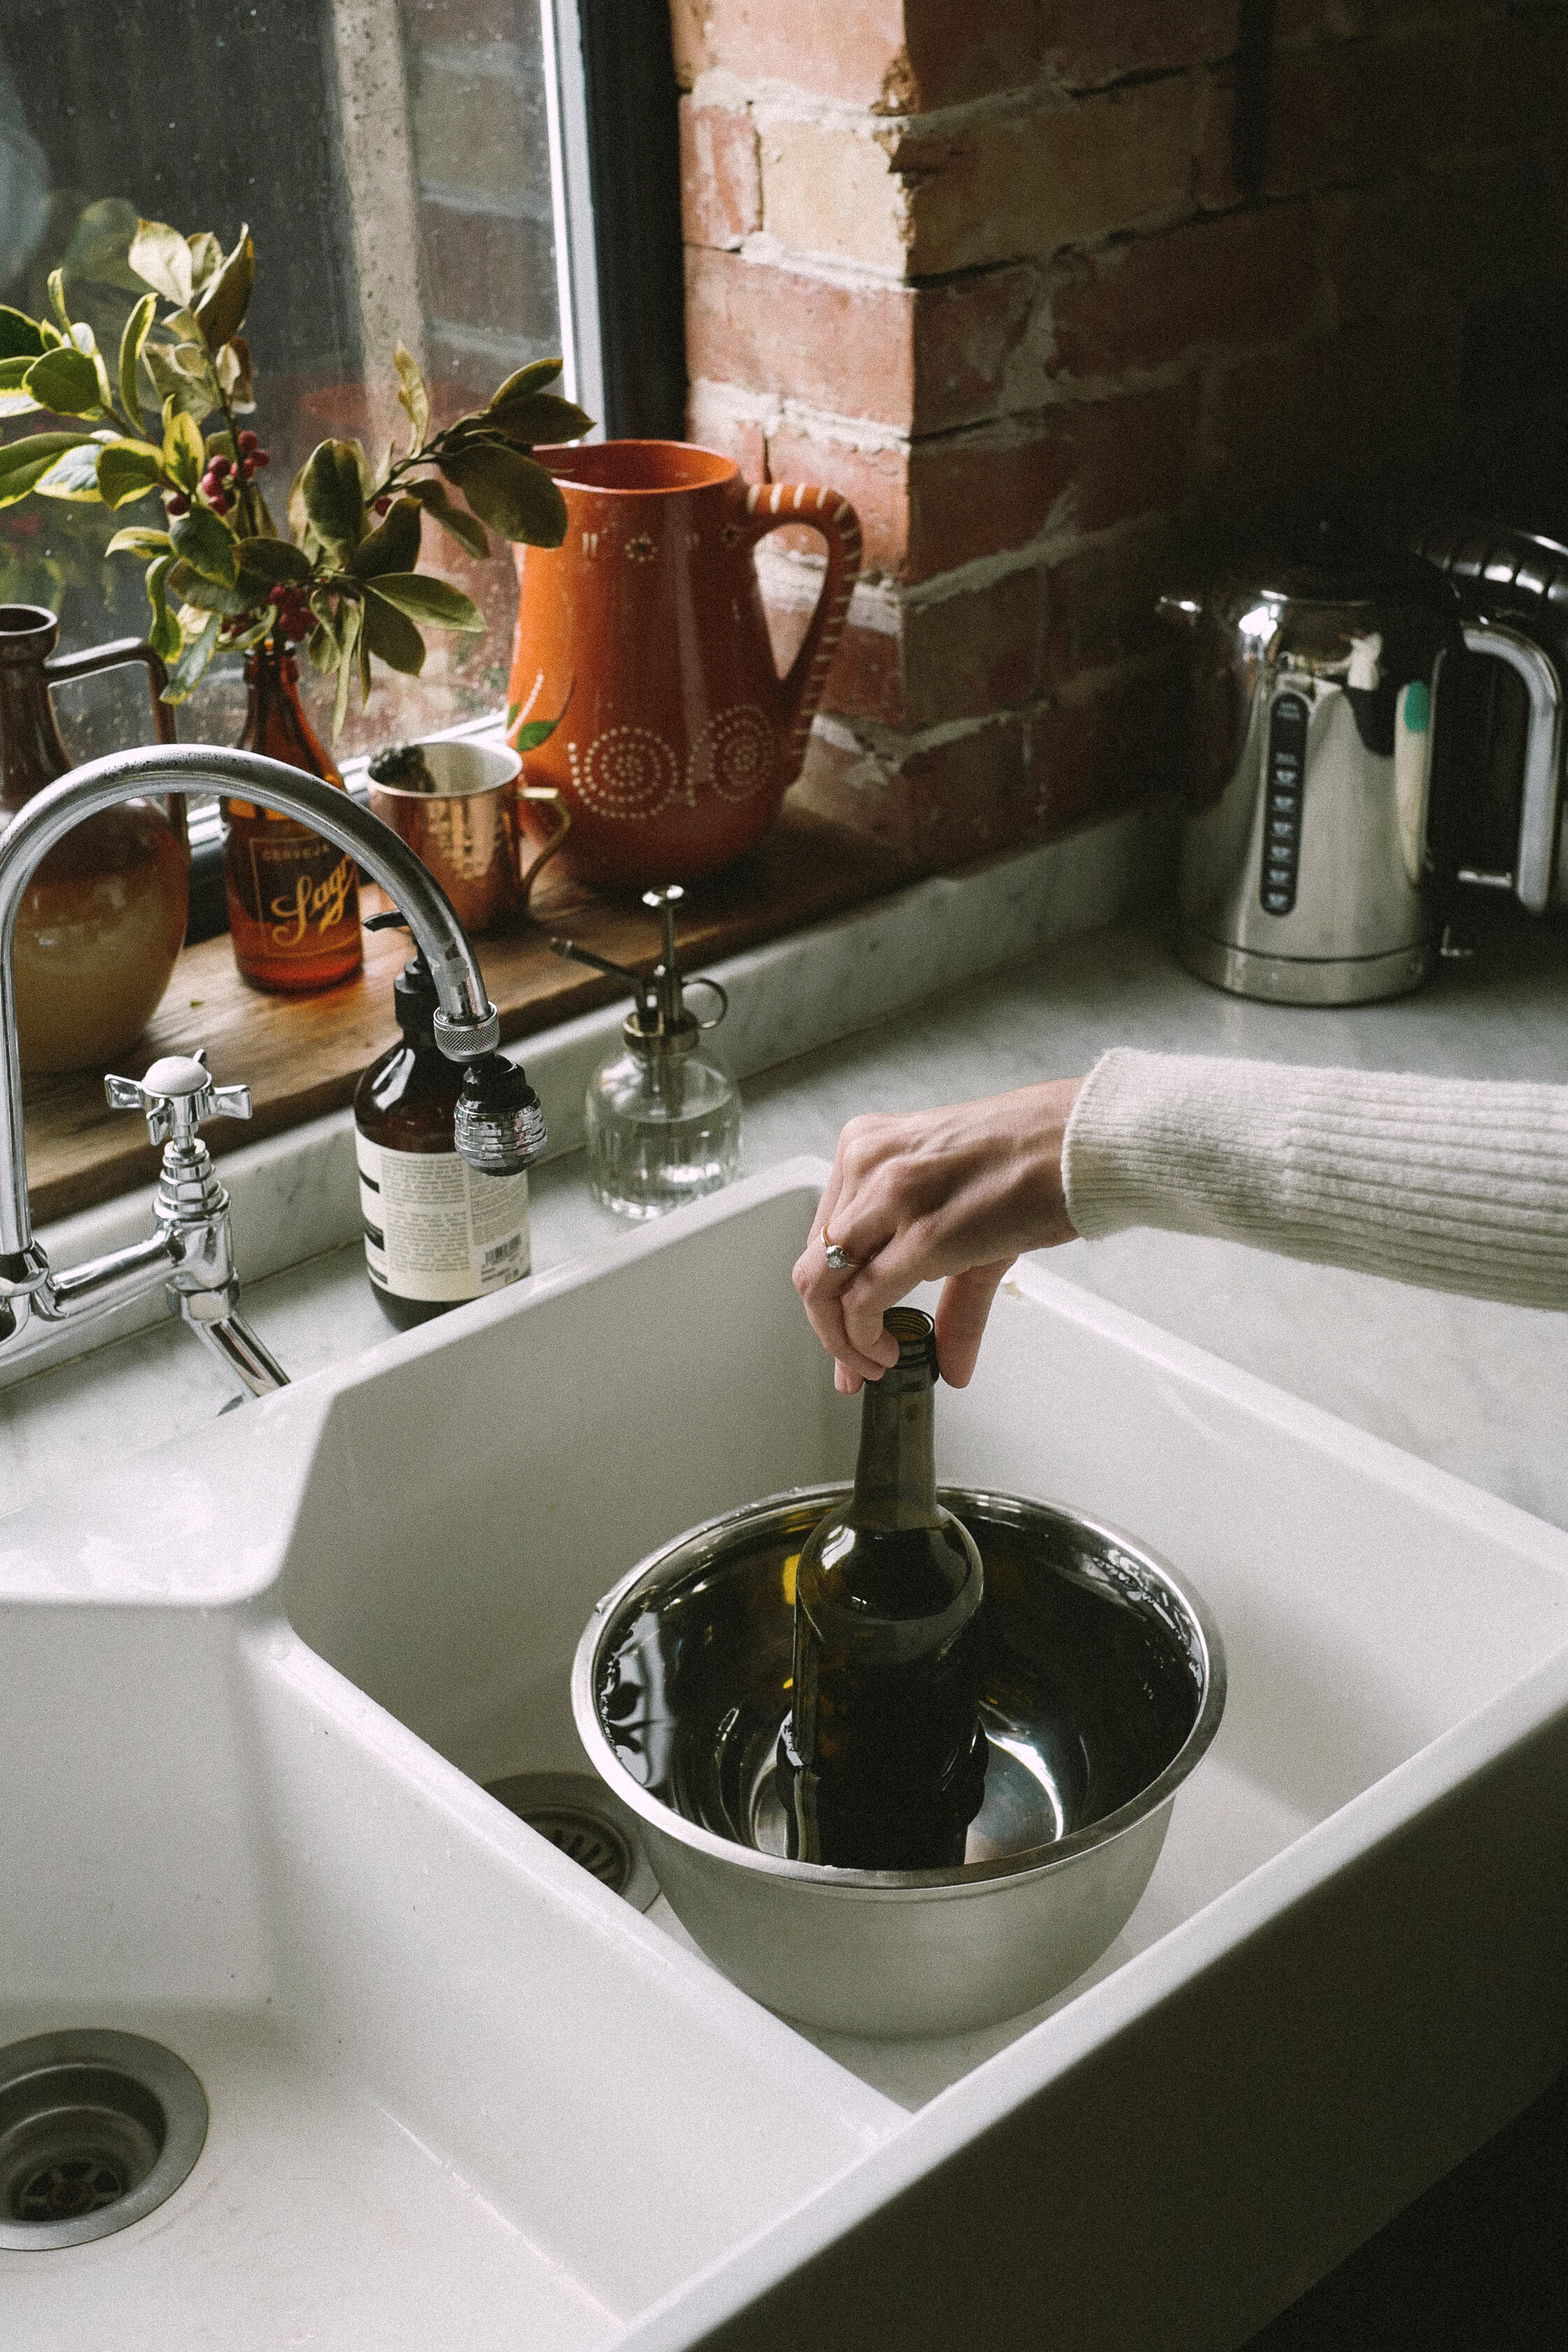
Let's start by removing the label from the wine bottle. Fill the bottle with hot water and dip it in a jug which also contains hot water. For easy removal, let the water soften the labels for a few minutes. If the label doesn't come out in its entirety at first, repeat the process. Using a scouring pad and dishwashing detergent, remove all glue.
Começa por remover o rótulo da garrafa de vinho. Enche a garrafa de água quente e mergulha-la num jarro que por sua vez também contei água quente. Deixa que durante alguns minutos a água amoleça os rótulos para que a sua remoção seja fácil. Se ainda assim o rótulo não sair à primeira, repete o processo. Com um esfregão e detergente da loiça limpa todos os restos de cola.

There are several videos on youtube that teach you how to cut wine bottles without using a bottle cutter. As I thought the methods used were not exactly safe, I decided it was best to buy one. Adjust the cutter to the desired position and rotate the bottle to create with its blade a line around it, just like the one shown on my image. I recommend repeating the process a few times so that the line gets a bit deeper. Don't worry, it's easier than it sounds.
Há vários videos no youtube que ensinam a cortar garrafas de vinho sem recorrer a um cortador. Como achei que os métodos utilizados não eram propriamente seguros, decidi que o melhor era comprar um. Ajusta o cortador para a medida desejada e roda a garrafa de modo a que lâmina do cortador desenhe uma linha em seu redor. Recomendo que se repita o processo algumas vezes para que a linha fique bem vincada. É mais fácil do que o que parece, prometo.
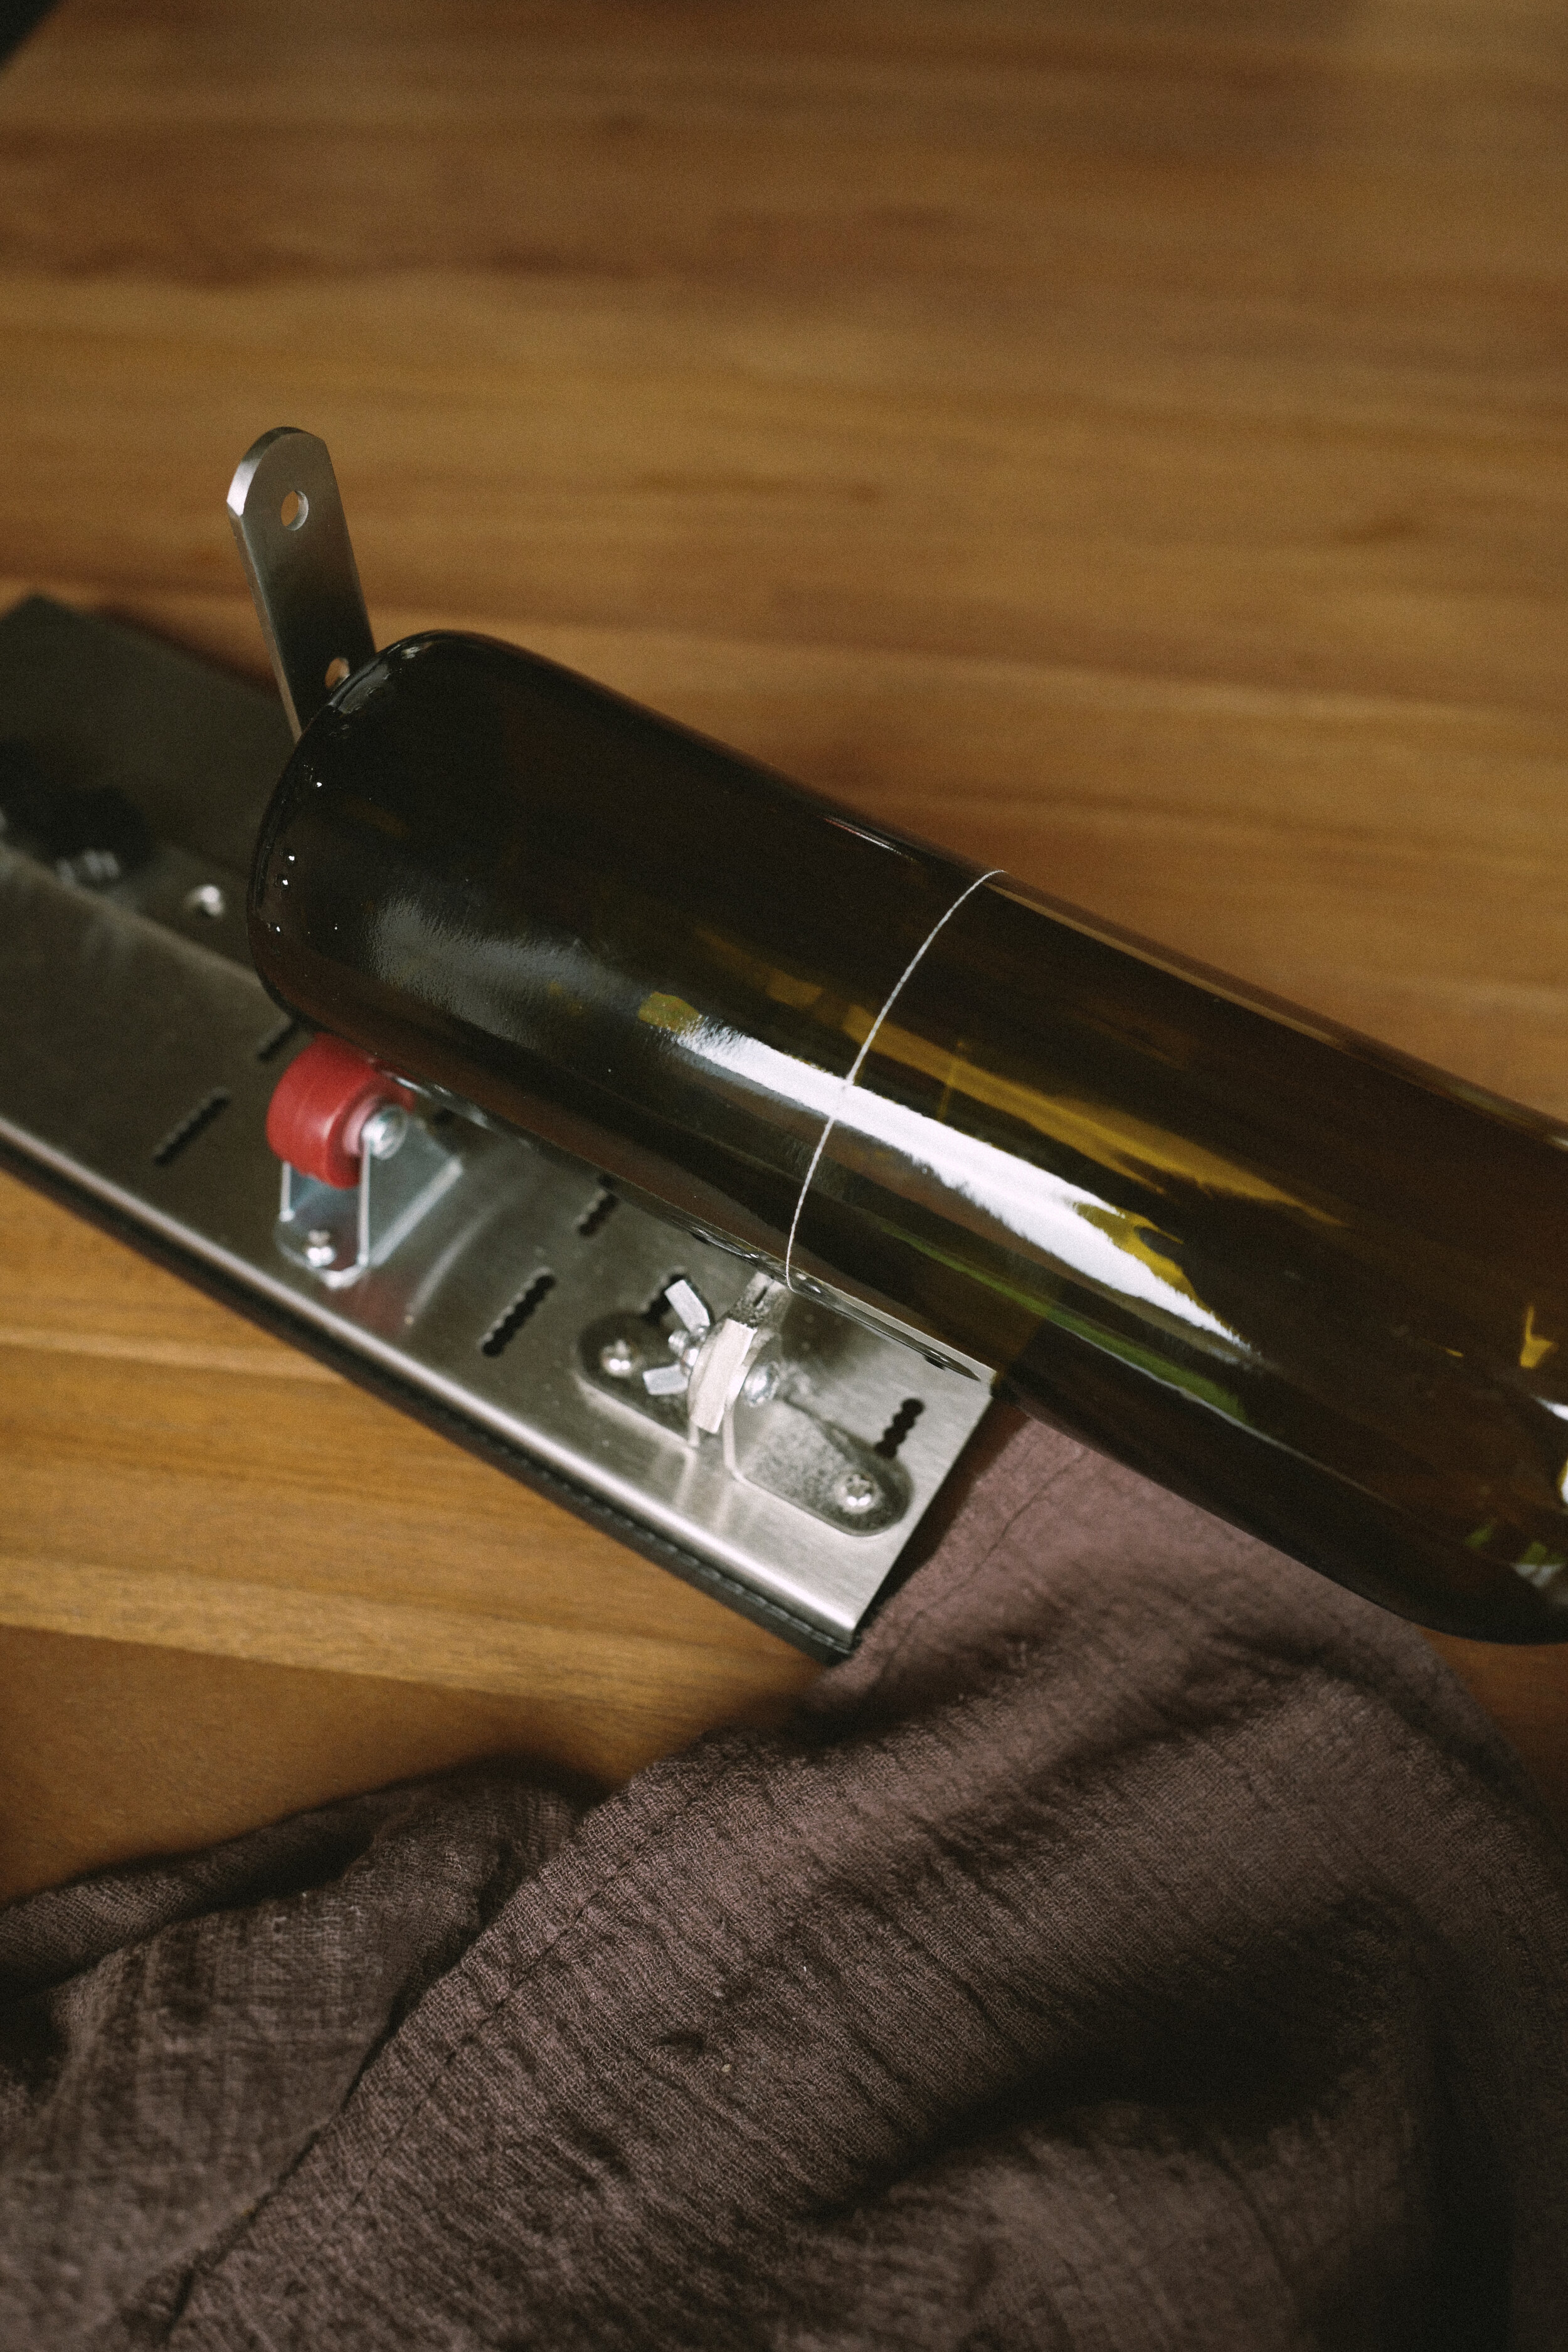

Then alternate the bottle between hot and cold water. The cutter I bought included these black elastics but the process works the same way if yours doesn't. For about twenty seconds, rotate the bottle while pouring boiling water and then place the bottle in iced water for another twenty seconds. Repeat the process until the bottle miraculously splits into two. It's then necessary to sand the edges of the cut glass so that it isn’t harmful.
De seguida, alterna a garrafa entre água quente e fria. O cortador que comprei incluía estes elásticos pretos mas o processo funciona na mesma se o teu não incluir. Durante cerca de vinte segundos, roda a garrafa enquanto despejas água a ferver e depois coloca a garrafa em agua gelada durante outros vinte segundos. Repete o processo até a garrafa milagrosamente se separar em dois. Posteriormente, é necessário lixar as arestas do vidro cortado para que não corte.

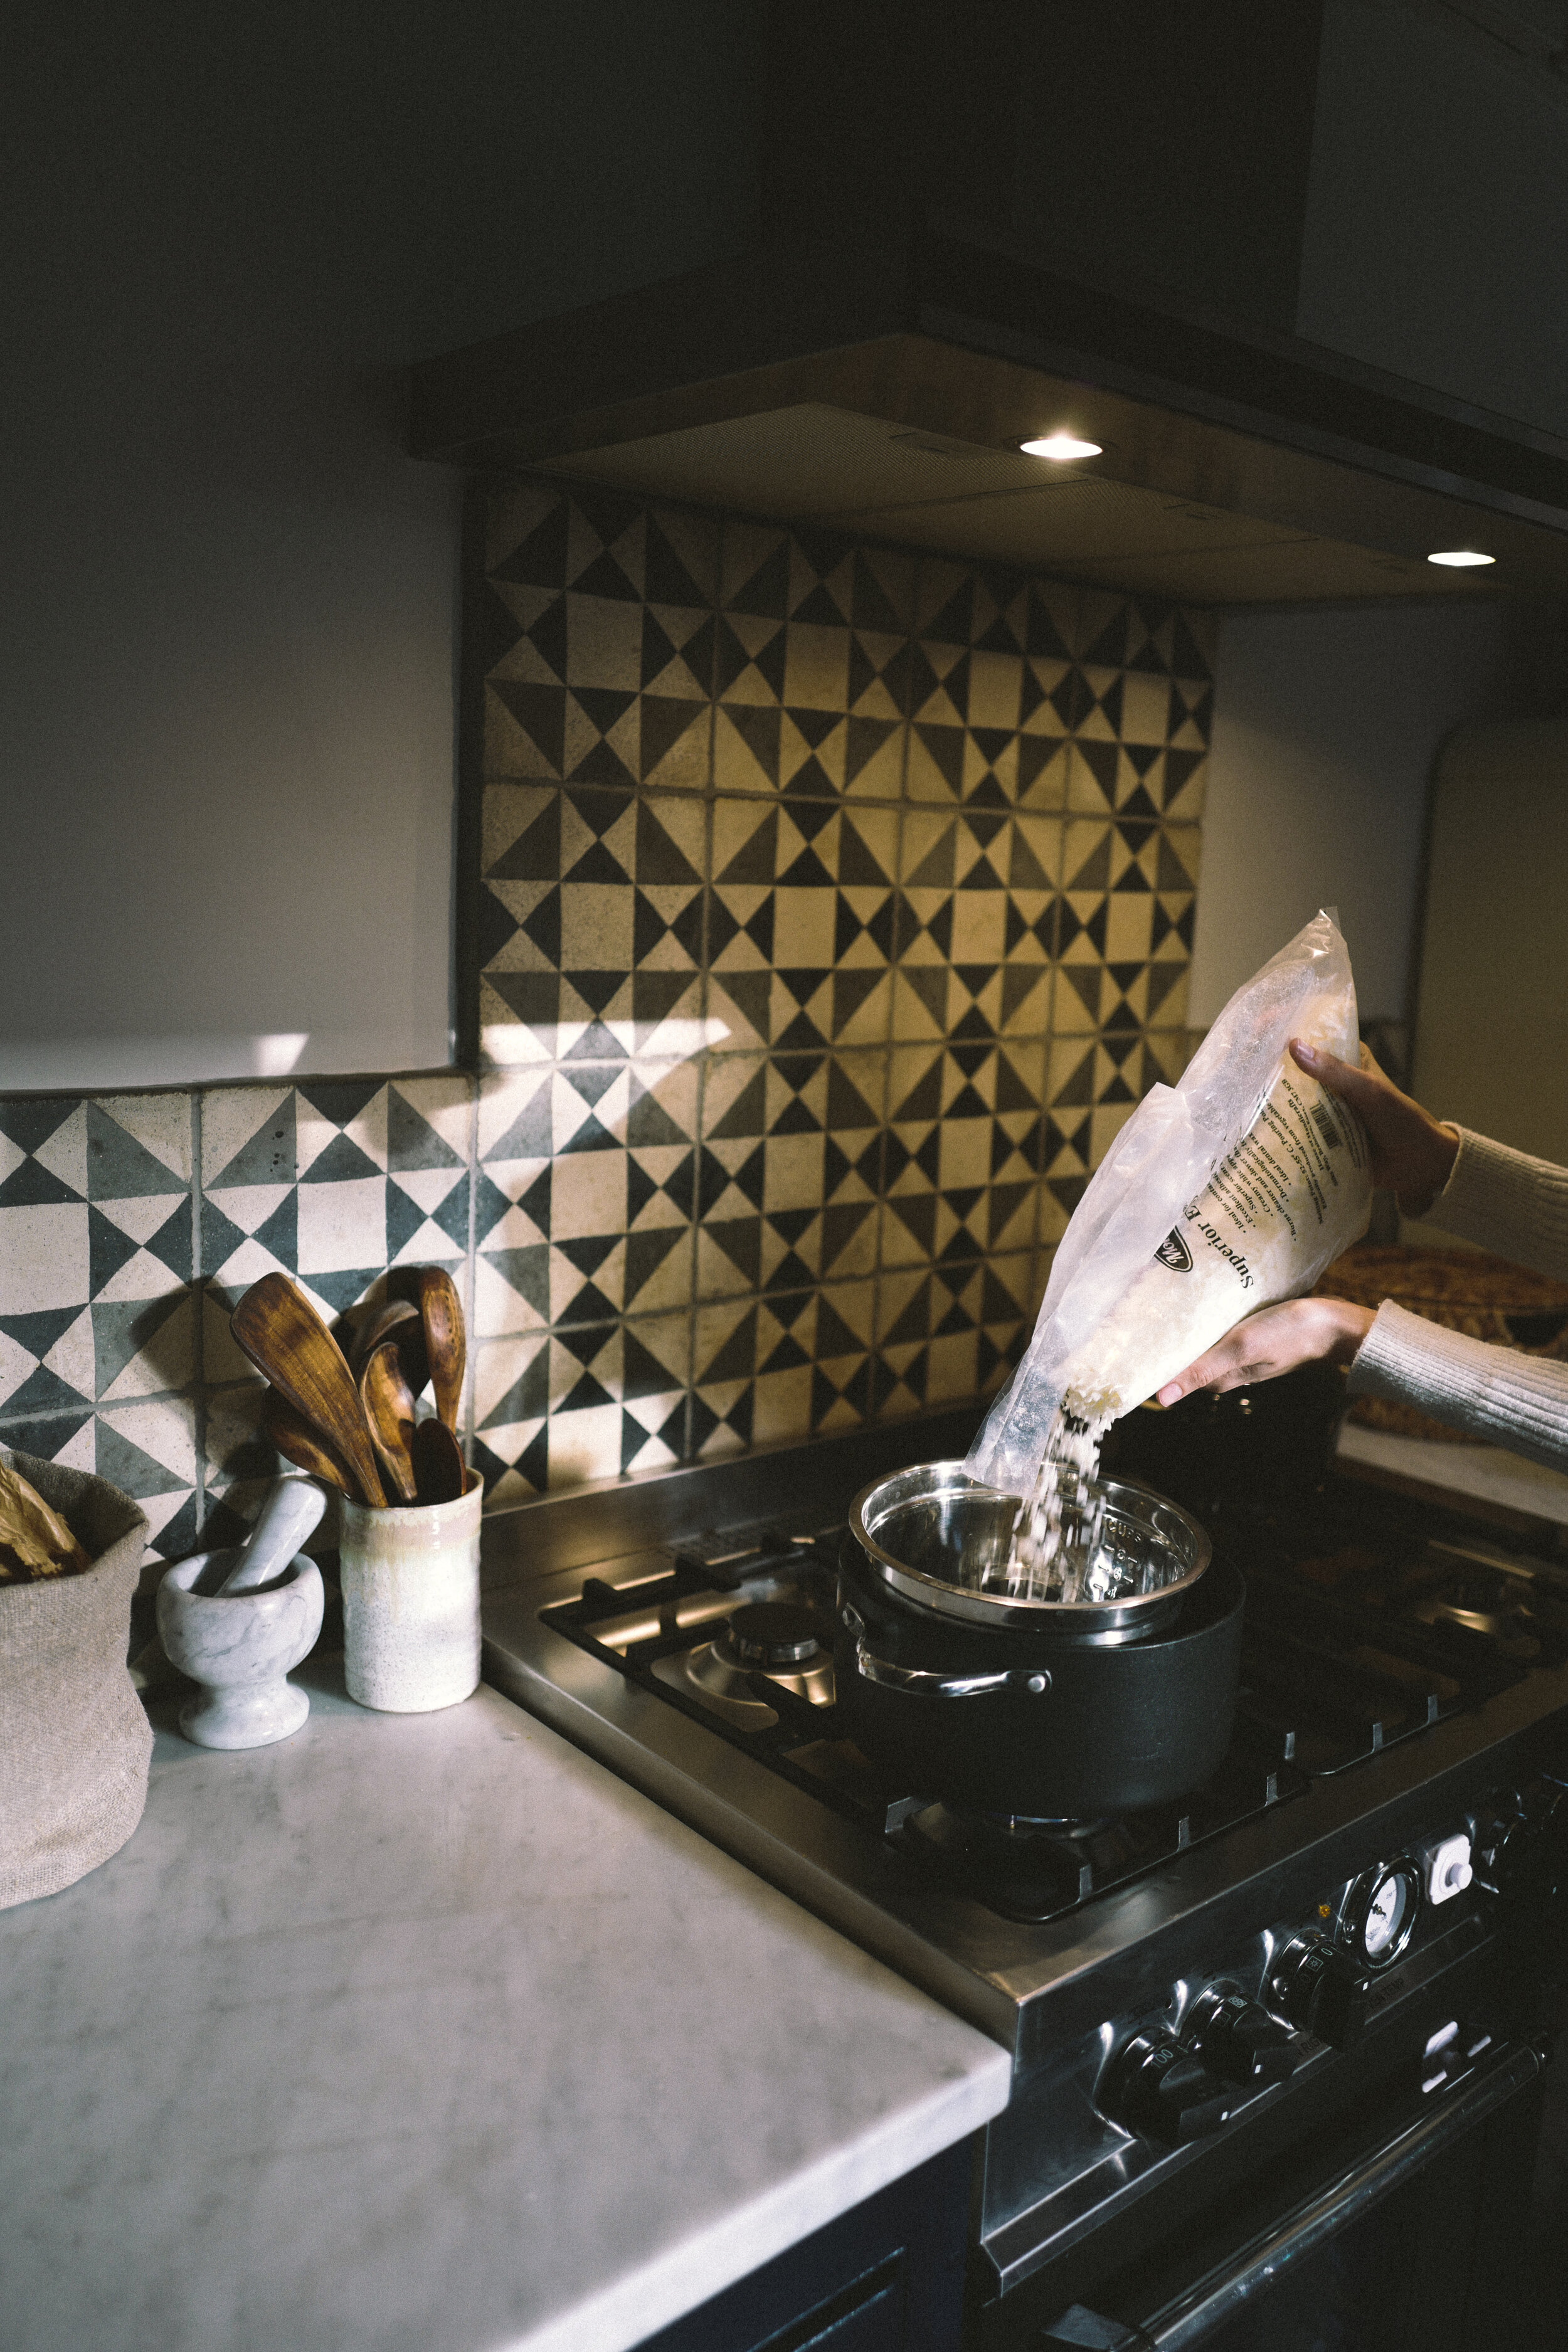
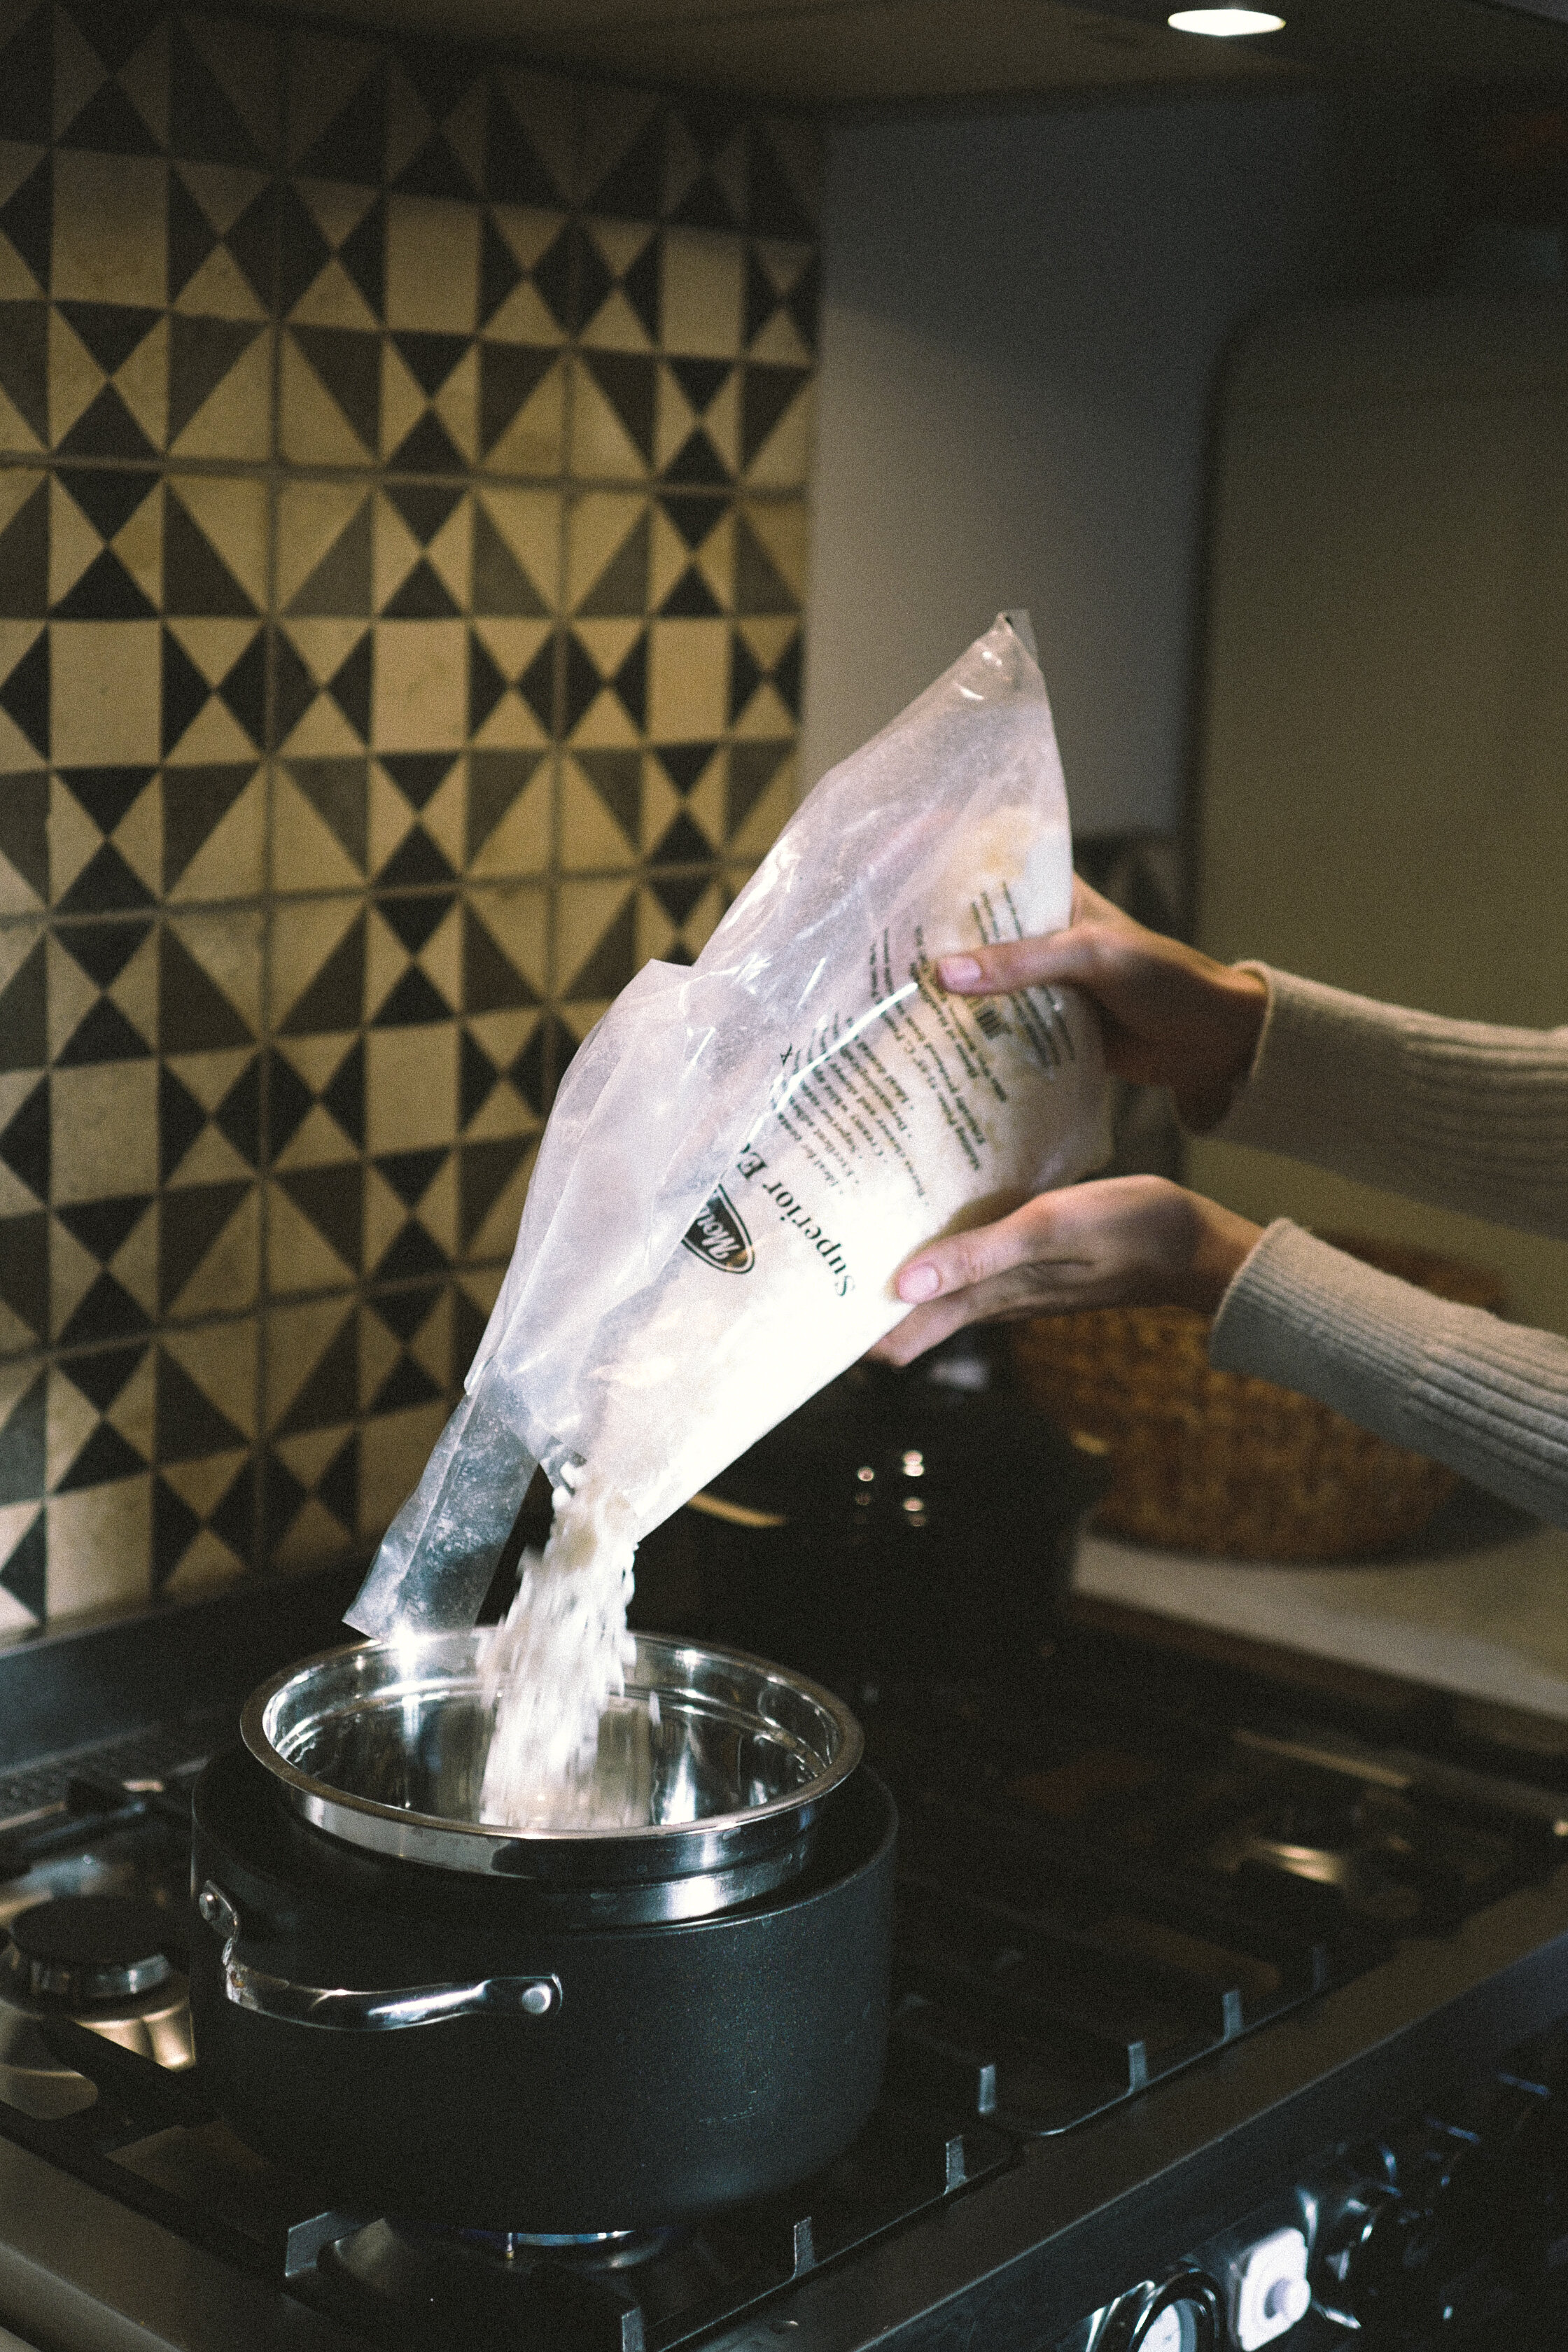
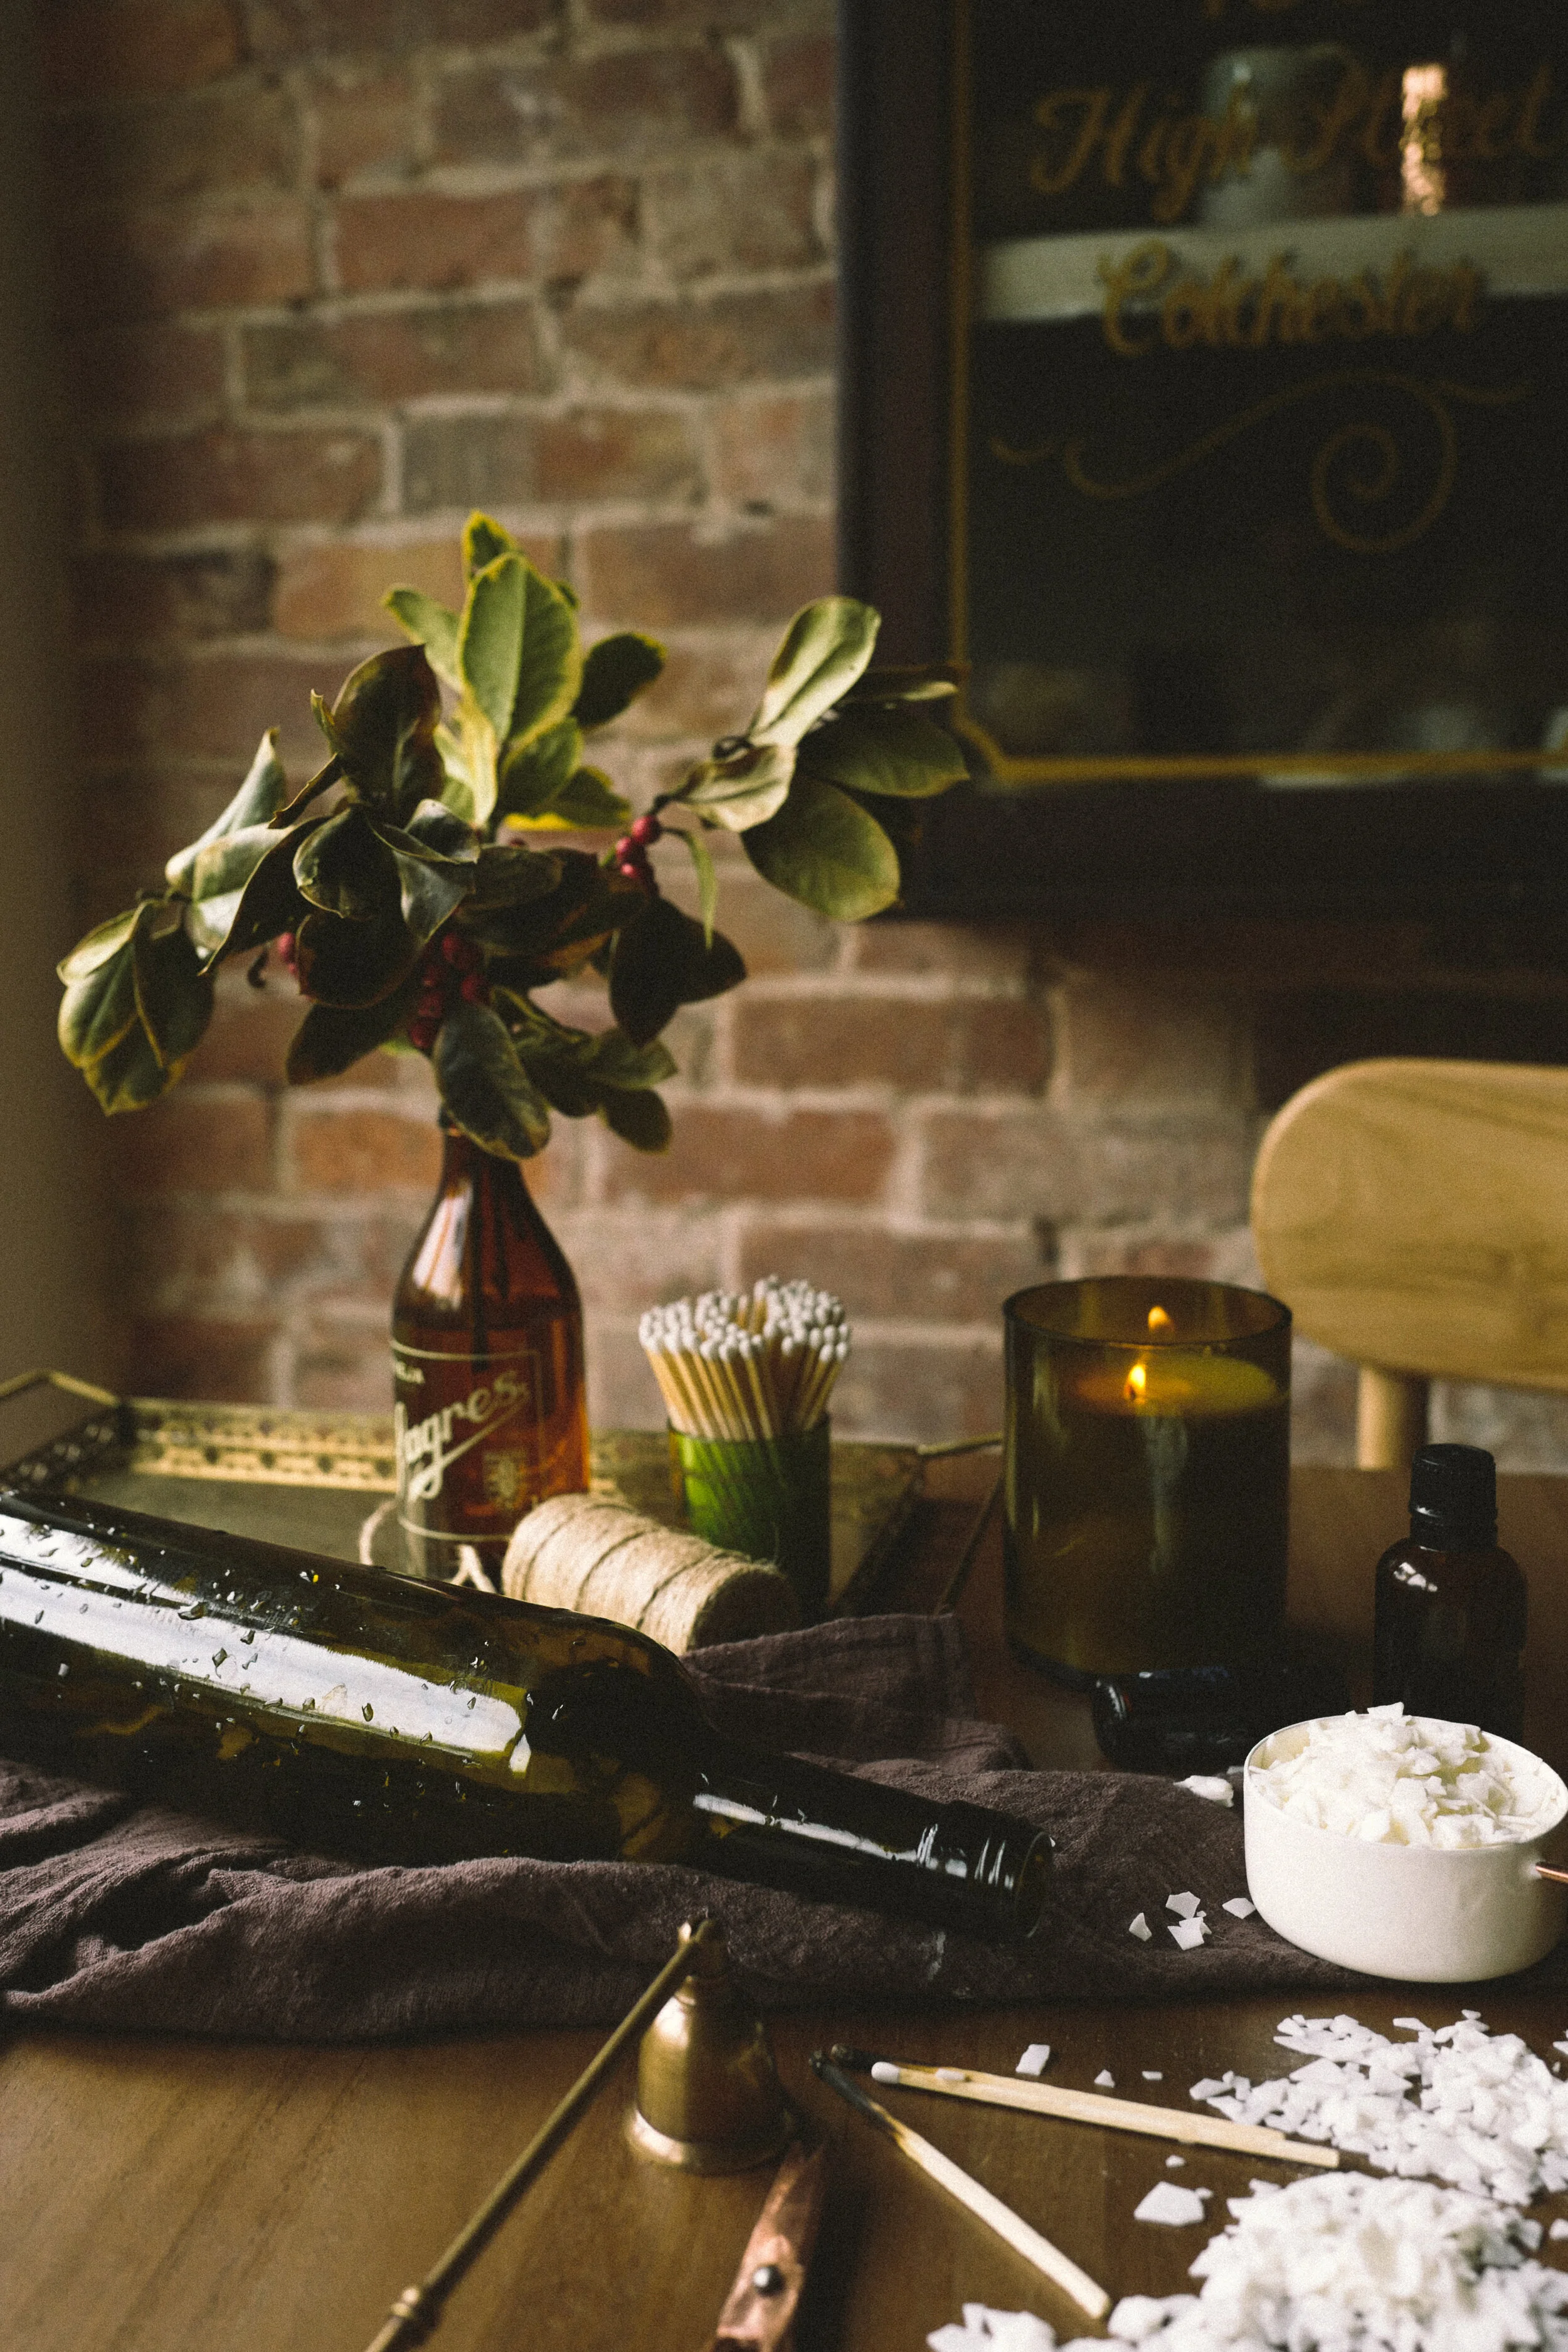
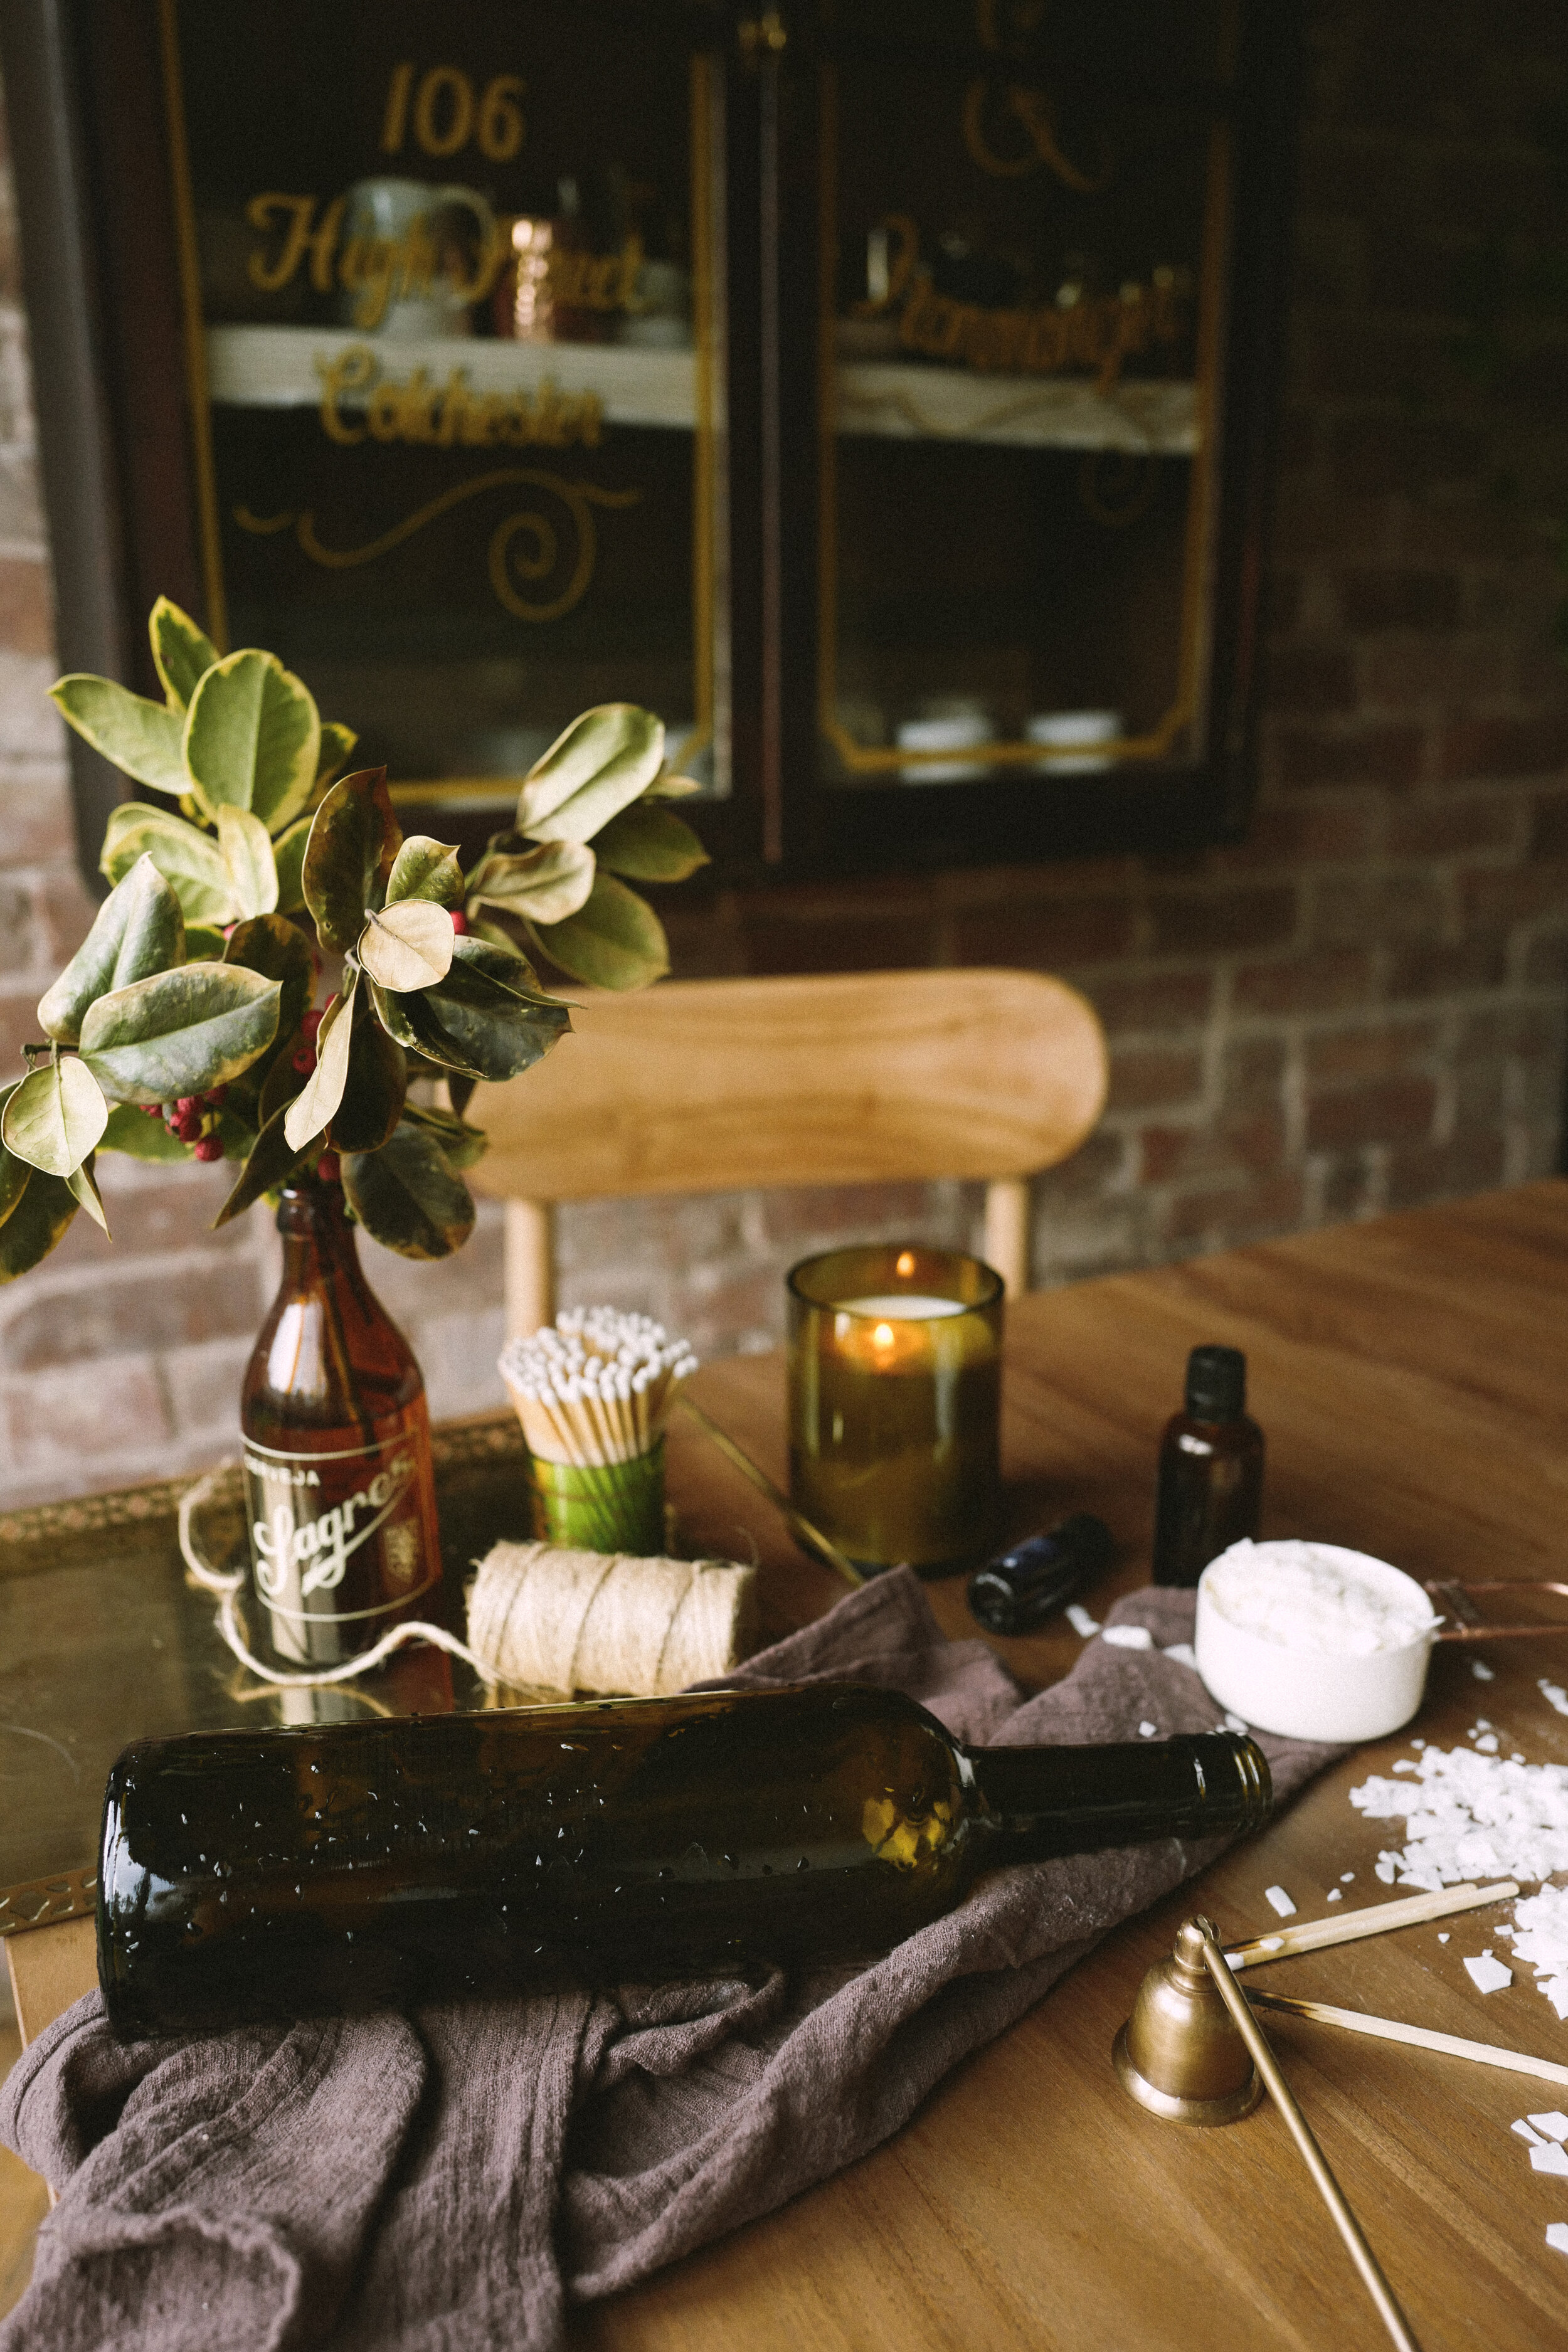
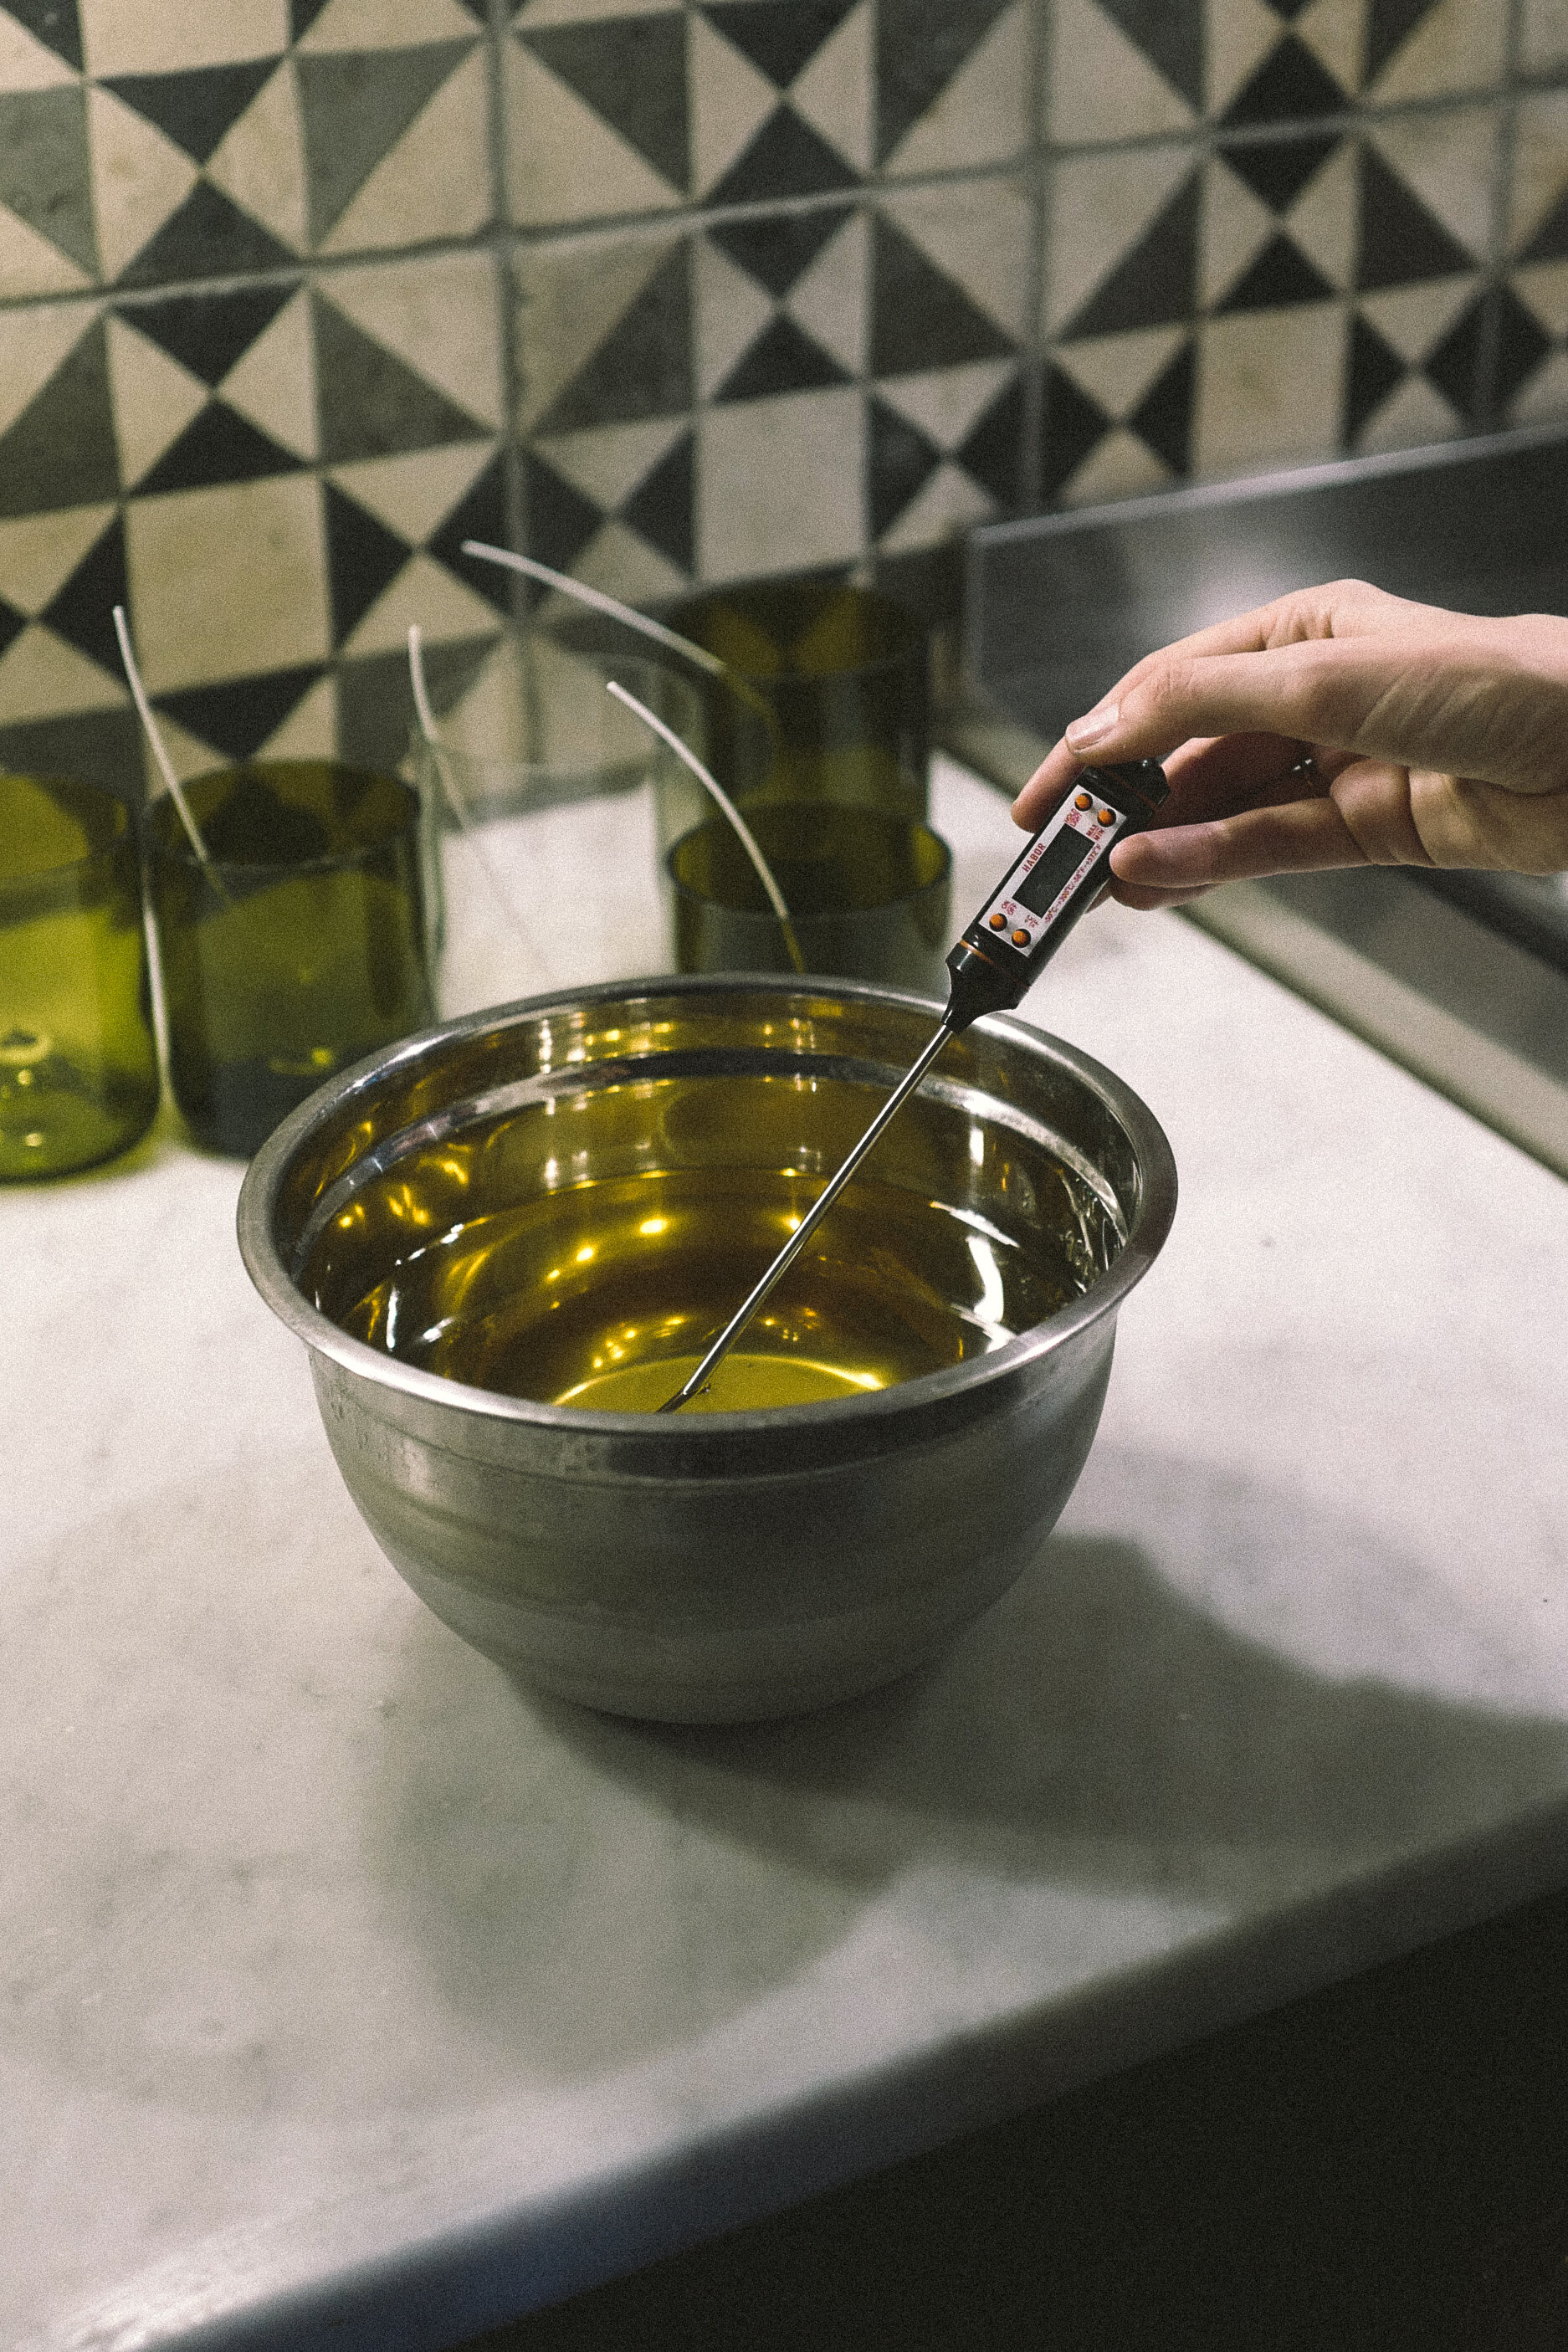
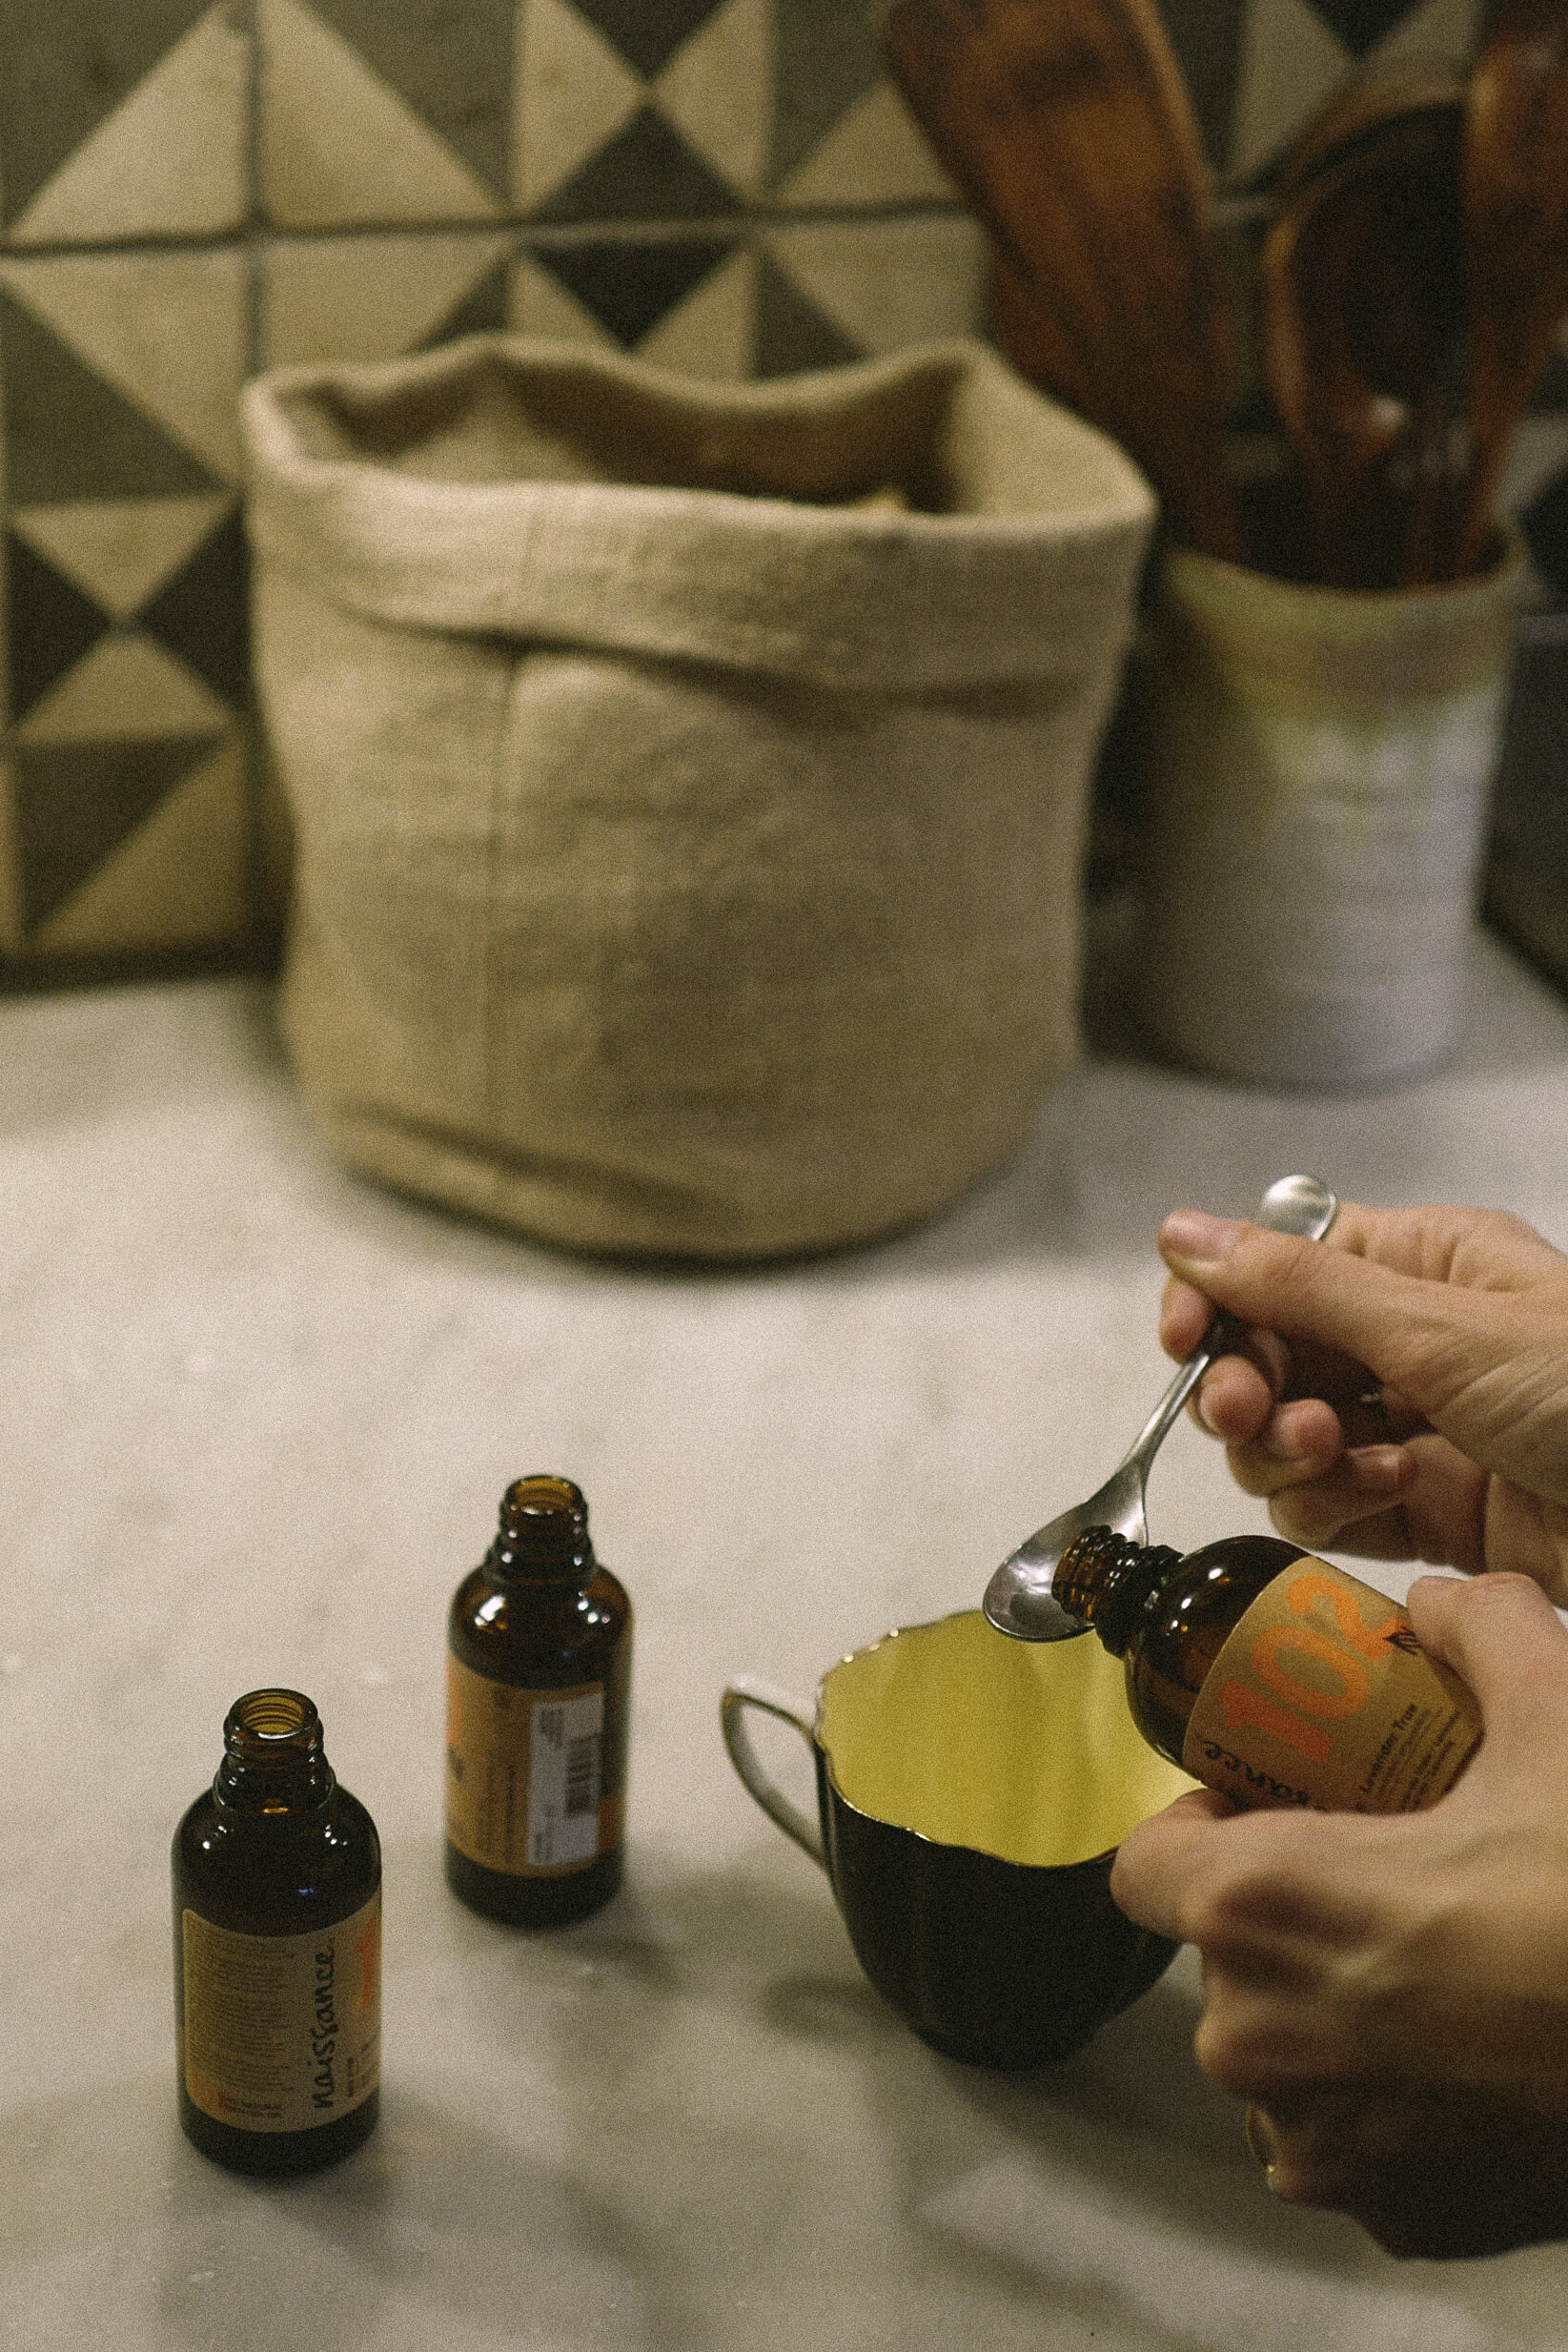
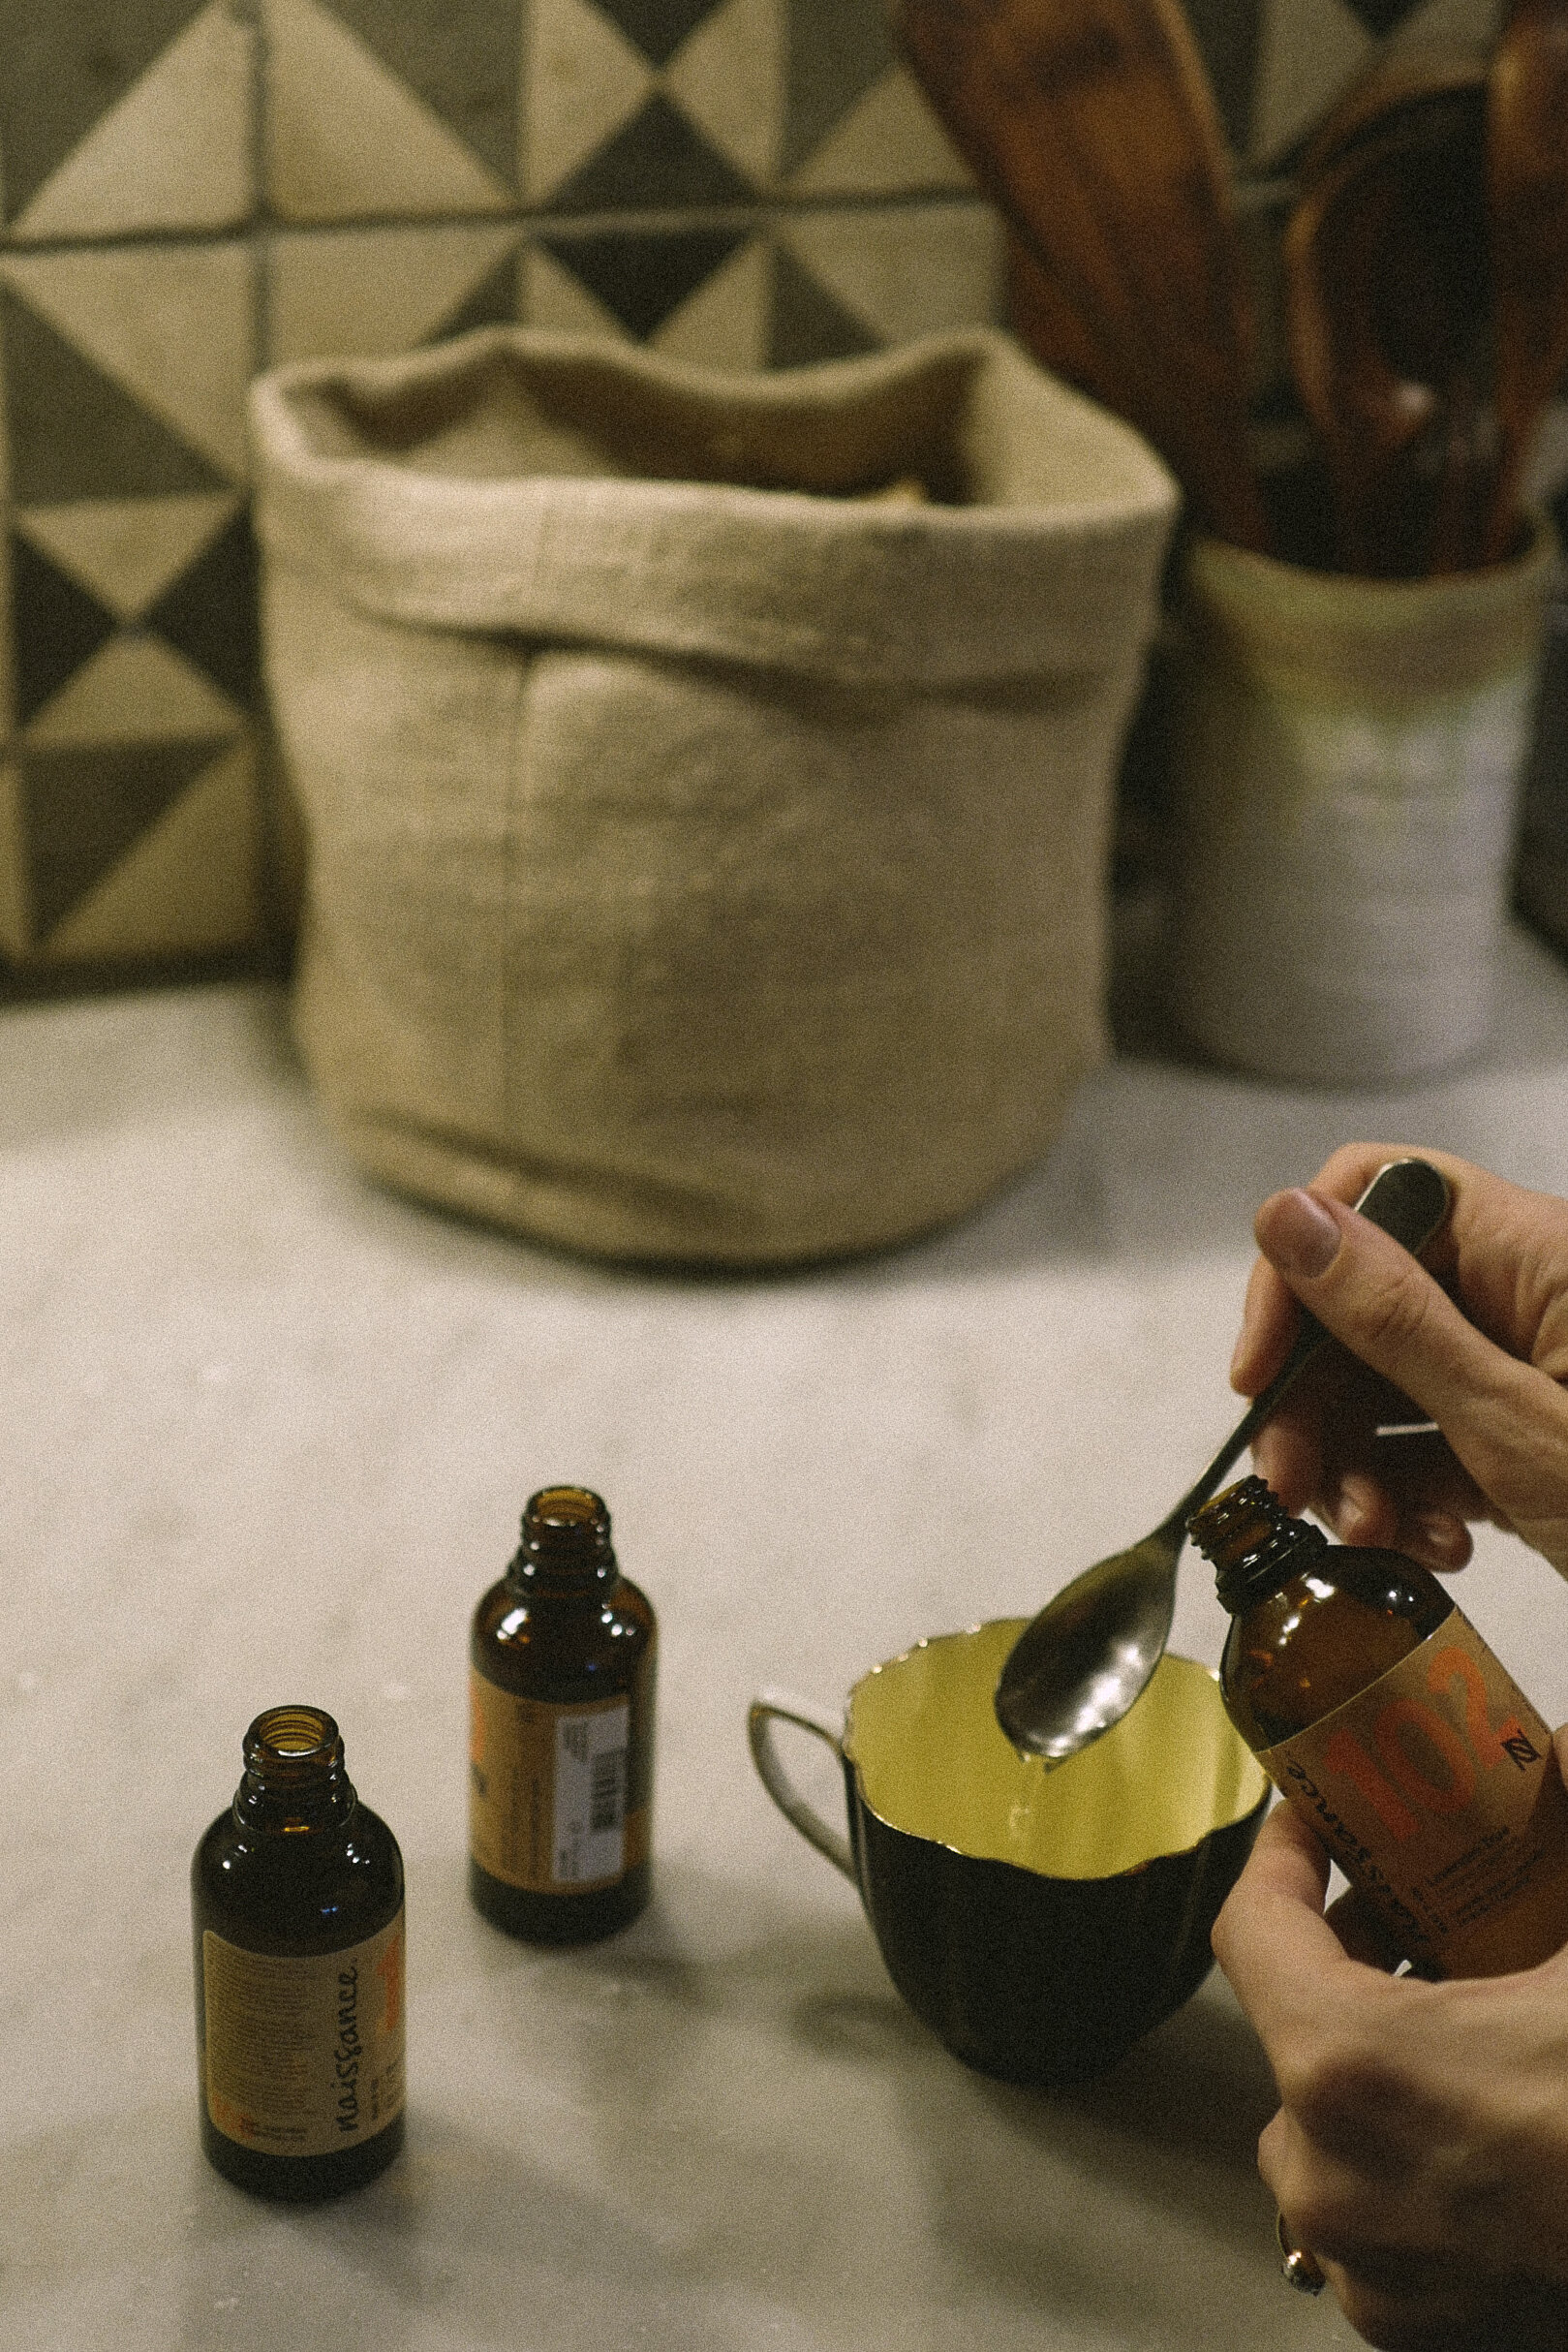
Place soy wax flakes in a tin inside a pan of water on the stove. The tin I use has millilitre measurements which helps me calculate the amount of essential oils needed. I like candles with a strong scent, so the proportion of oil I use is 10%. If you add more oil there isn't a problem, the smellier the better. I measure the oils in teaspoons, each teaspoon is about 6ml. So, for instance, if you have 1000 ml of melted wax, you'll need to add 100ml of essential oils (17 teaspoons). In order to better retain your fragrance, add the oils only when the wax reaches 85 degrees centigrade. The colder the wax is, the better it will retain the smell.
Coloca um recipiente com os flocos de cera de soja dentro de uma panela com água ao lume. O recipiente que eu uso tem medidas em mililitros o que me ajuda a calcular a quantidade de óleos essenciais necessária. Eu gosto que as velas tenham um cheirinho bem forte, portanto a proporção de óleo que eu utilizo é de 10%. Não há problema se por acaso adicionares óleo a mais, quanto mais bem cheirosas melhor. Eu faço as medições de óleo com colheres de chá, cada colher de chá tem cerca de 6ml. Por exemplo, se tiveres 1000 ml de cera derretida, precisarás de adicionar 100 ml de óleos essenciais (17 colheres de chá). De maneira a melhor reter a sua fragrância, adiciona os óleos apenas quando a cera atingir os 85 graus centígrados. Quanto mais fria a cera estiver, melhor reterá o cheirinho.


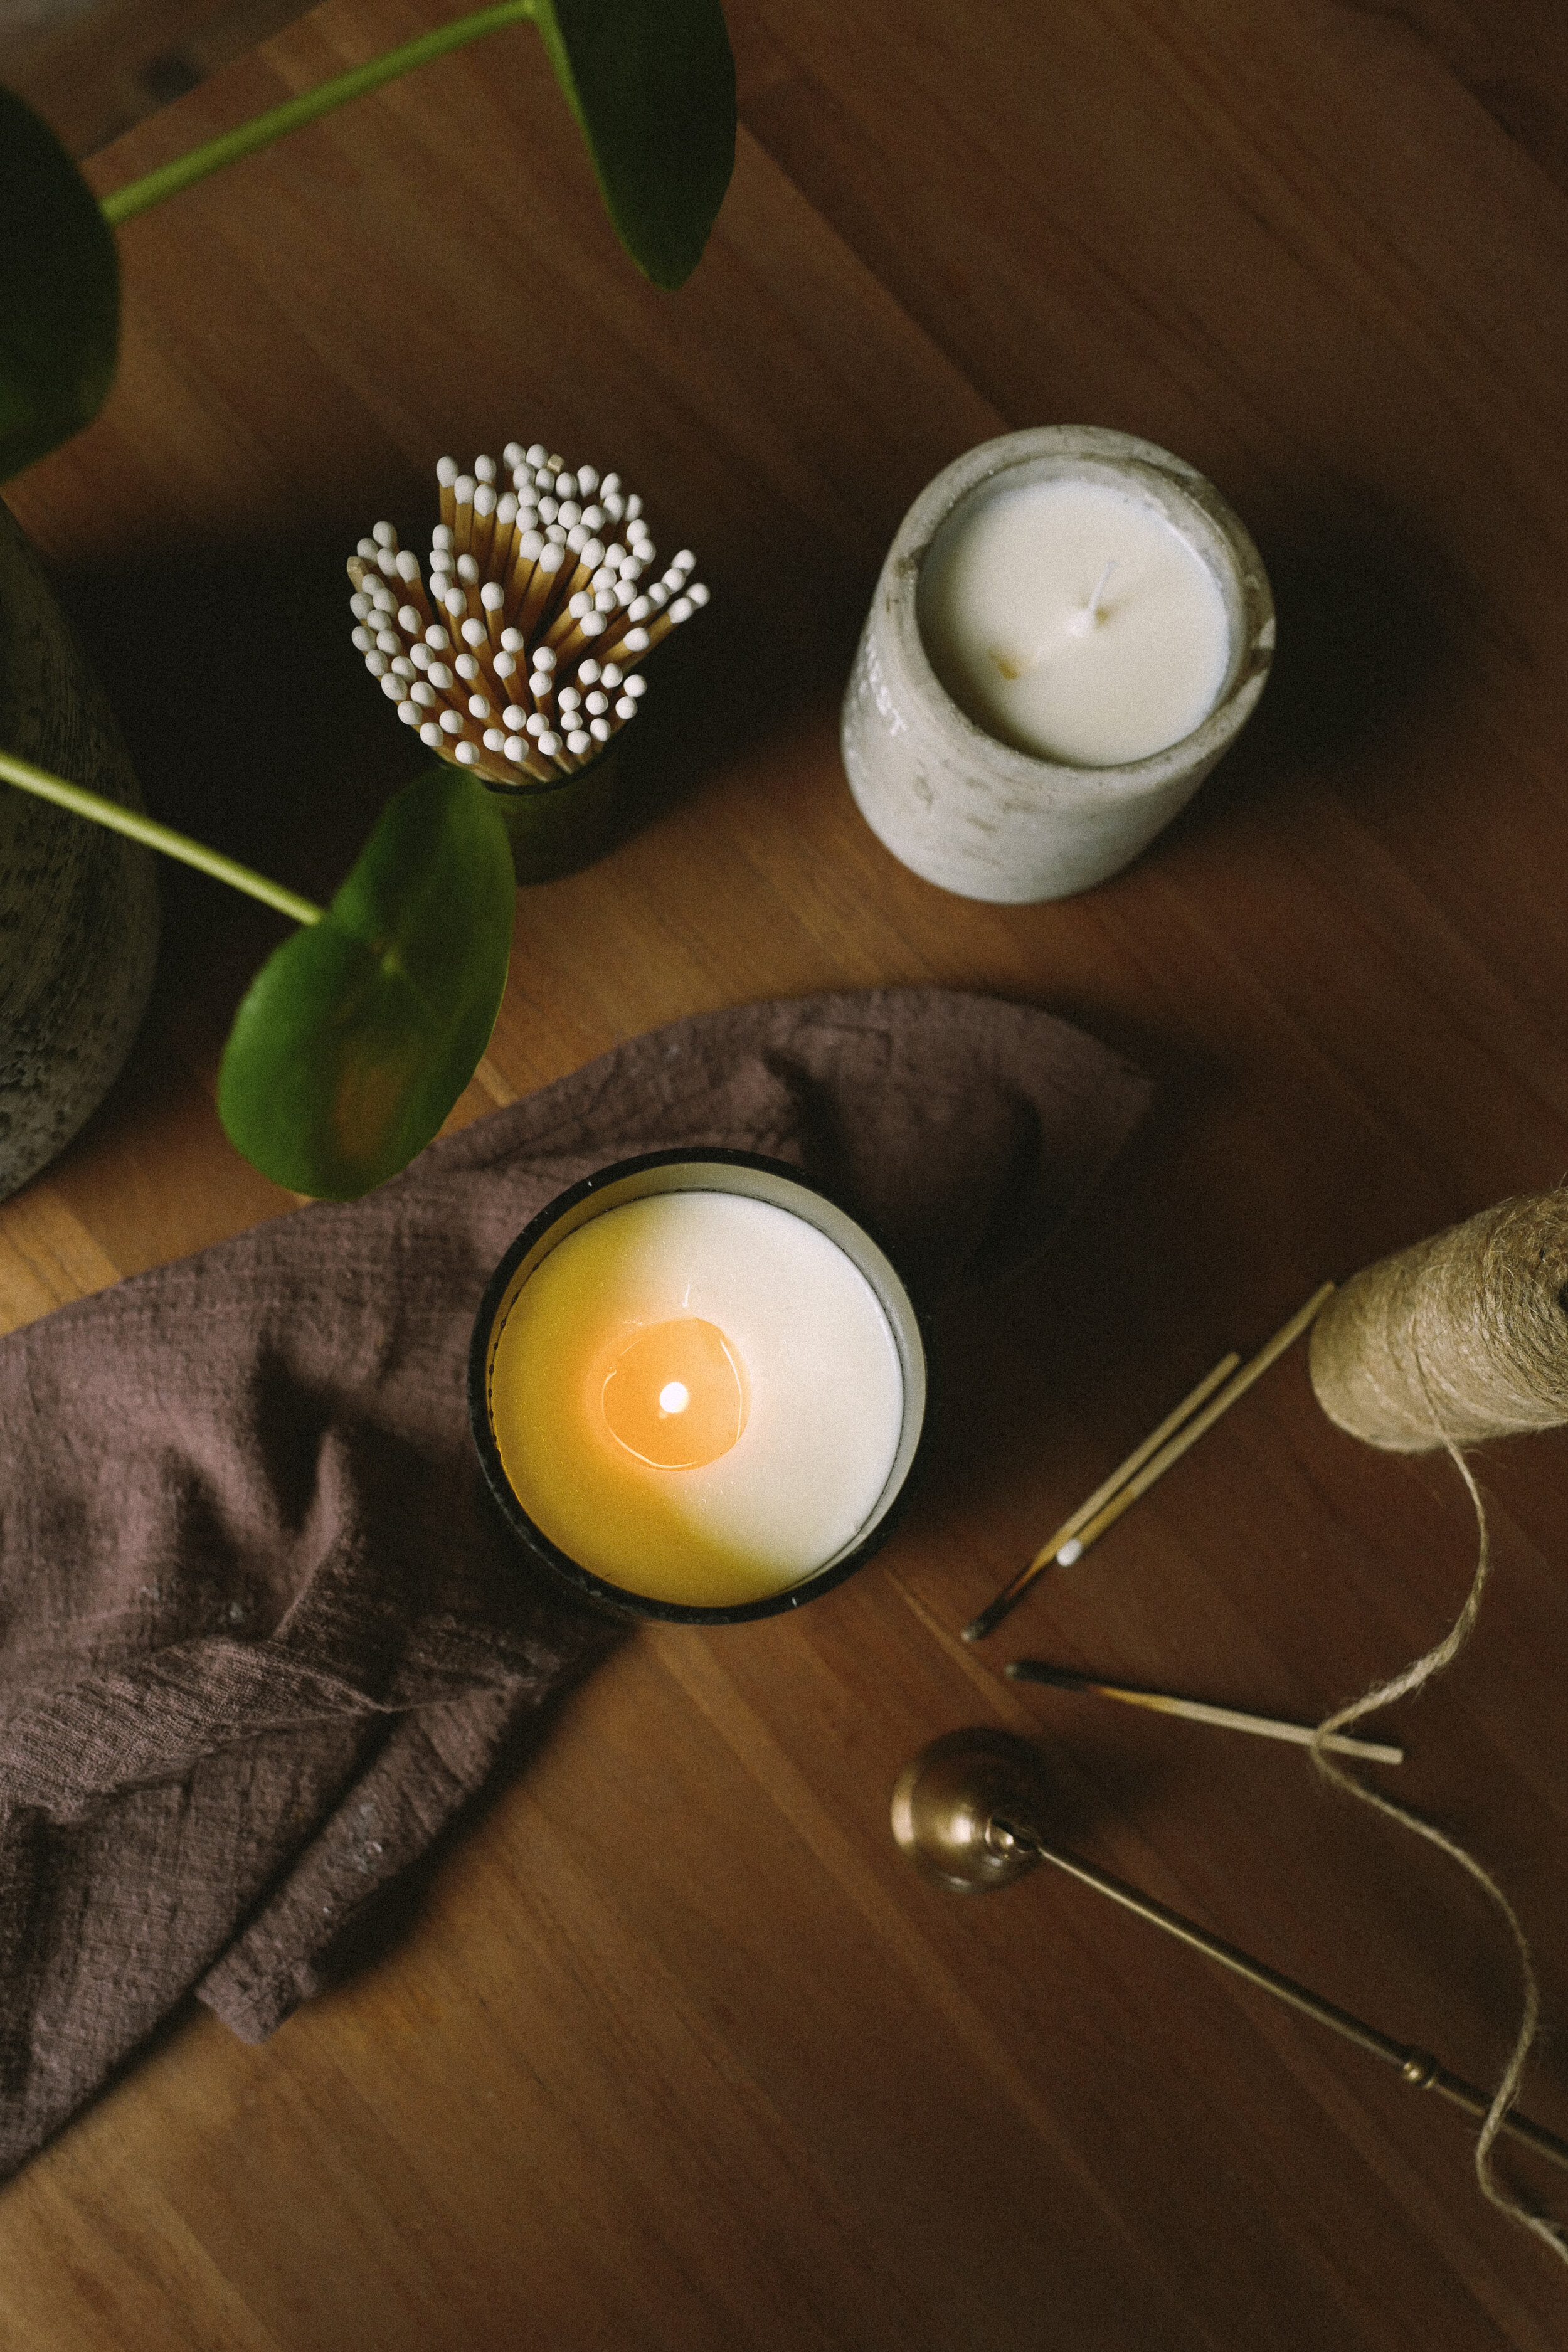
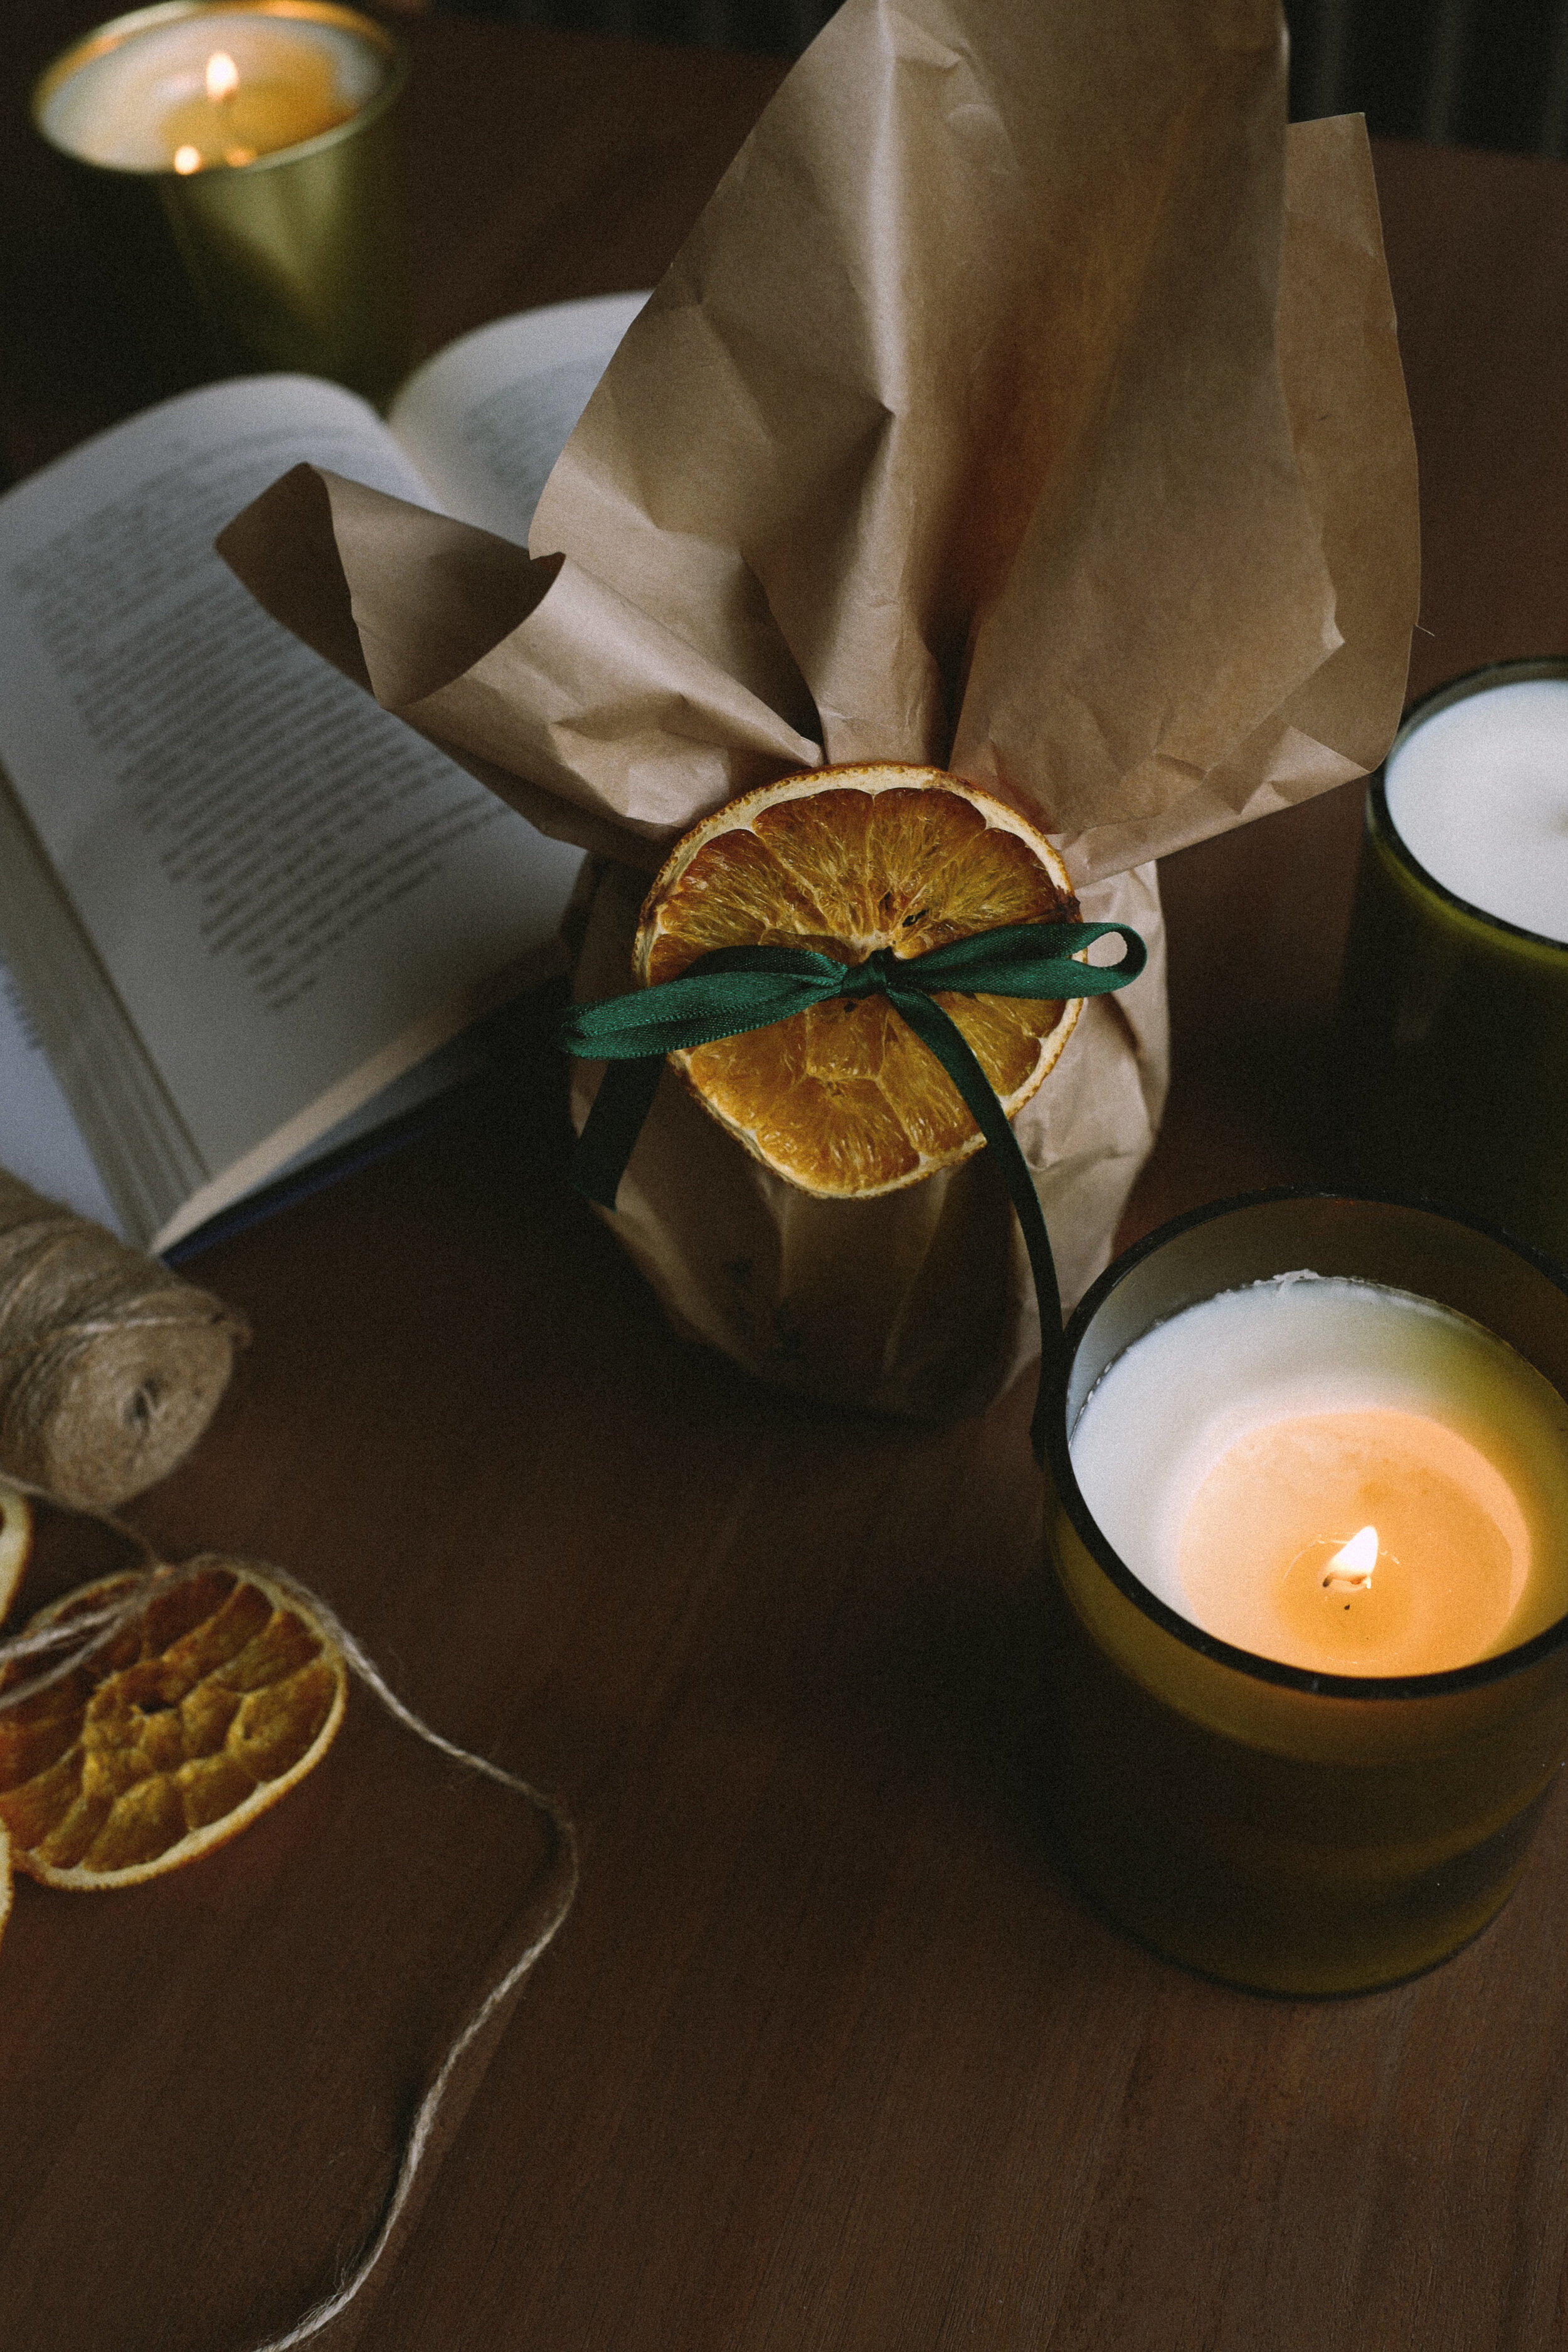
Glue the wick to the bottom of the wine bottle and use a clothes-spring, a spoon or pencil to centre the wick. The wicks I bought came with sticky discs which help attach them to the bottom. Wait 24 hours for the wax to solidify completely before burning. To better retain the smell, cover the candle. If you have any questions drop them in the comments section :) Happy candle making!
Colar o pavio no fundo da garrafa de vinho e utilizar uma mola, uma colher ou um lápis, para centrar o pavio. Os pavios que eu comprei vieram com discos colantes para facililtar a sua colocação. Depois é só esperar 24h para que a cera solidifique completamente. Para melhor conservar a fragrância, convém cobrir as velas quando estas não tiverem a ser utilizadas. Se tiveres alguma questão, não hesites em deixá-la nos comentários :)

*This post may contain some affiliate links. You’ll never pay more for clicking on my links but I may earn a small commission from the brand as a thank you for the referral. These are my own images and they may not be used for commercial purposes without prior consent. In case of a repost please credit me.